Finished product first. Pretty pleased with how it’s turned out. I finished it with three coats of Danish Oil and one coat of beeswax for the shine.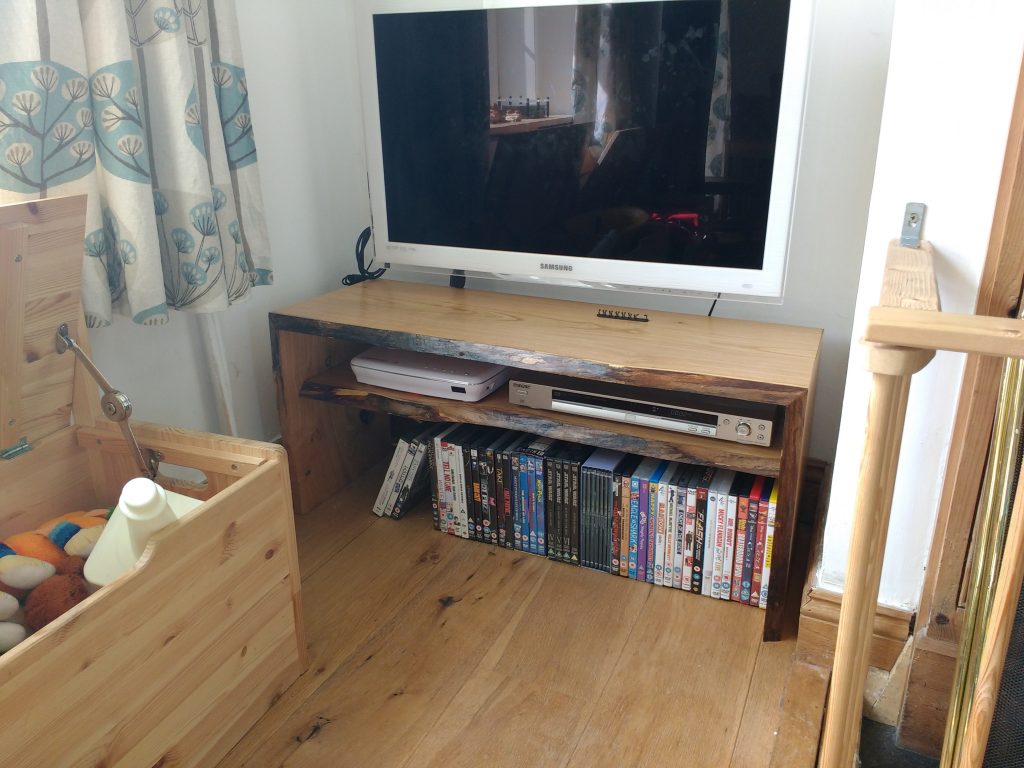 I made a quick SketchUp model to get an idea of the proportions and style. I wanted mitred joints with angled edges.
 Bought some ~3m long sweet chestnut boards from a local boat builder. The tree was felled nearby (about 20 miles away). He ran the boards through his planer/thicknesser for me for free, which was a pretty huge bonus for me as I only have a 15cm planer/thicknesser in my workshop.
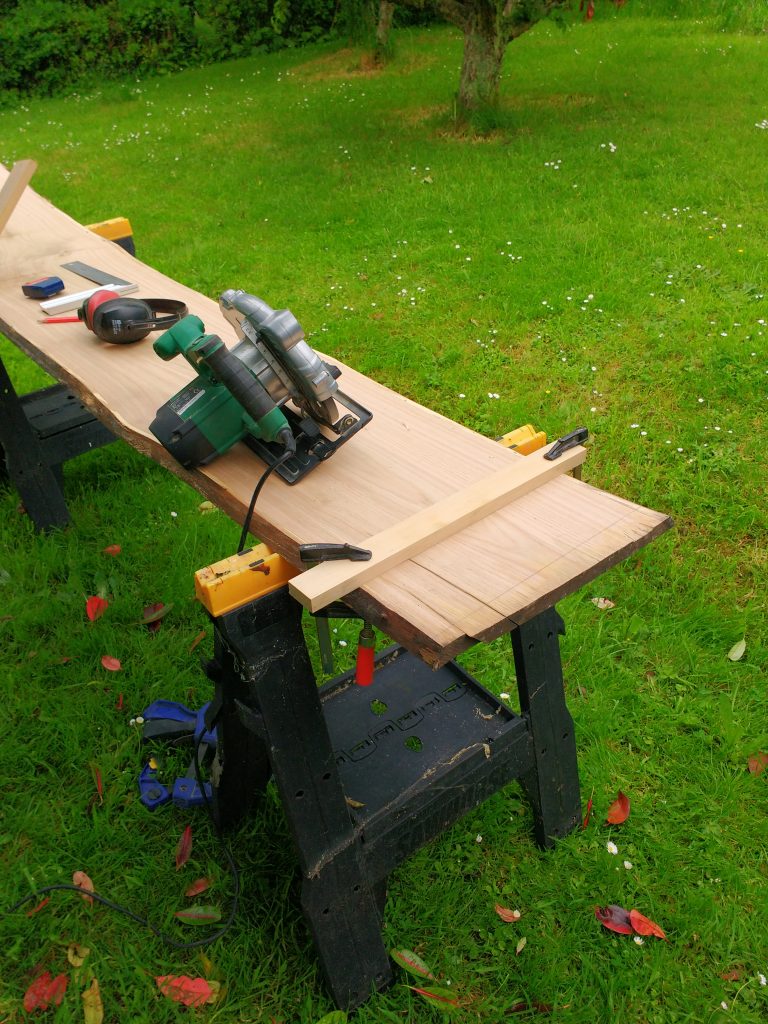 Here you can see my tiny workshop. It’s a 1.8 x 2.4 m stone walled outbuilding which until a couple of years ago was in a pretty bad state of affairs. I made a separate album for the bench build and the roof repair.
 Dry fit of the mitres. It turns out that leaving the boards in my slightly damp shed made them cup a bit. As such, the cuts I made with my circular saw followed that cup, meaning the mitres didn’t line up properly. I had to do some planing to get them to sit flush.
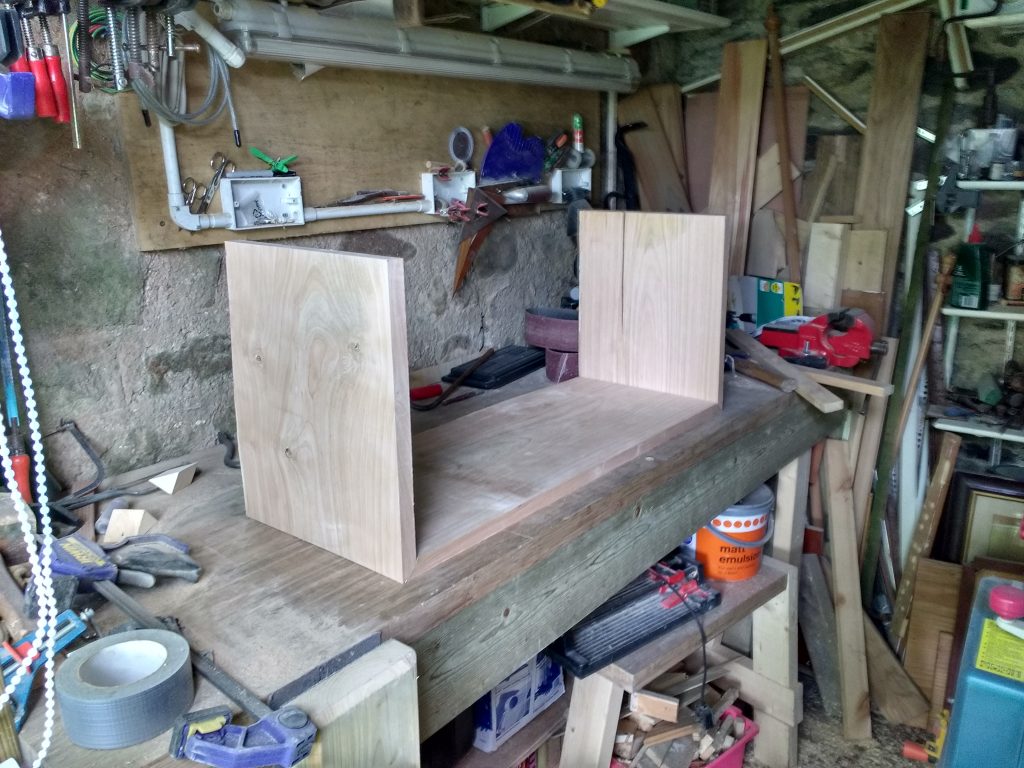 I added some dowels in the mitres to make aligning the joints easier. This was partially successful in the actual glue up.
 Testing the dowels for alignment. This was after I’d manually adjusted the mitre joints to be more flush.
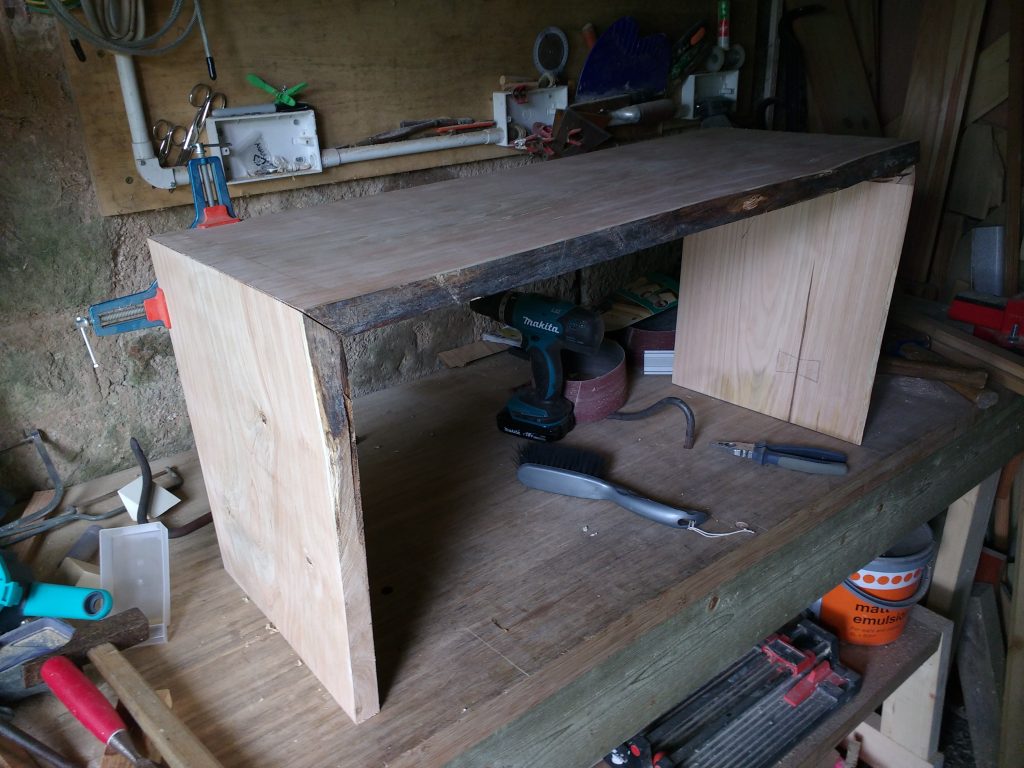 I decided to add a bowtie to strengthen this leg as it had a split in it. The bowtie is a piece of oak firewood which happened to have a nice grain pattern by virtue of being next to a group of small knots.
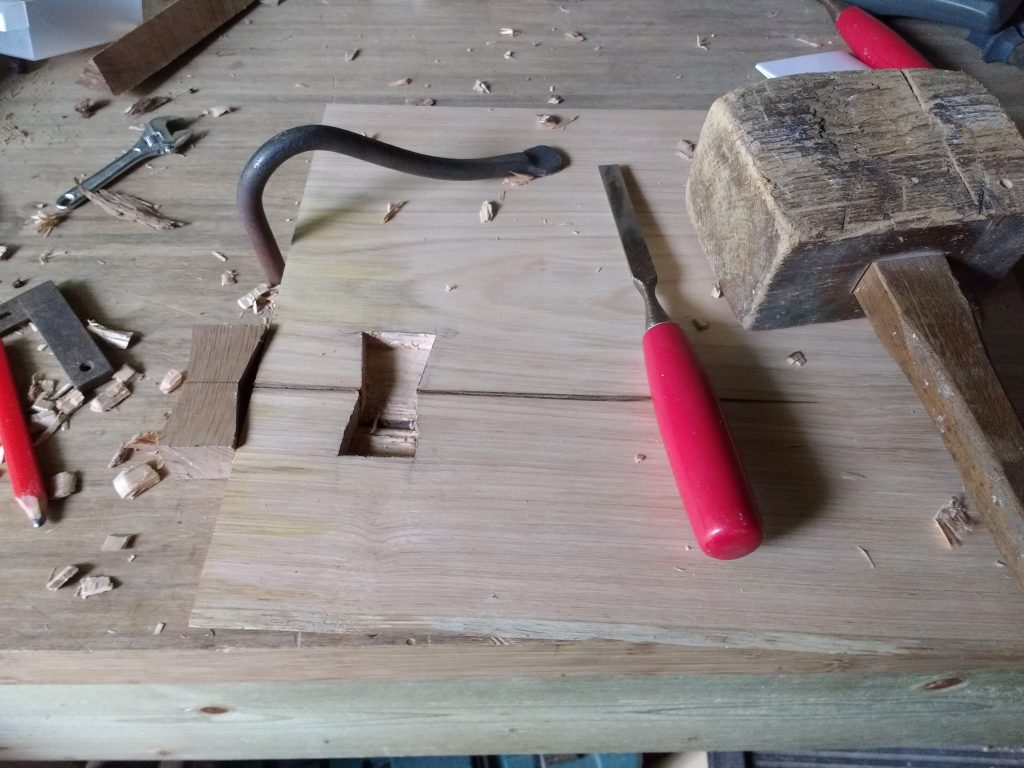 Bowtie in place and looking pretty. It only required a little sawdust and glue to make it seamless. Fortunately, I had quite a lot from sanding!
 Preparing the shelf for the cut. I had planned on adding another bowtie in here, but decided against it in the end.
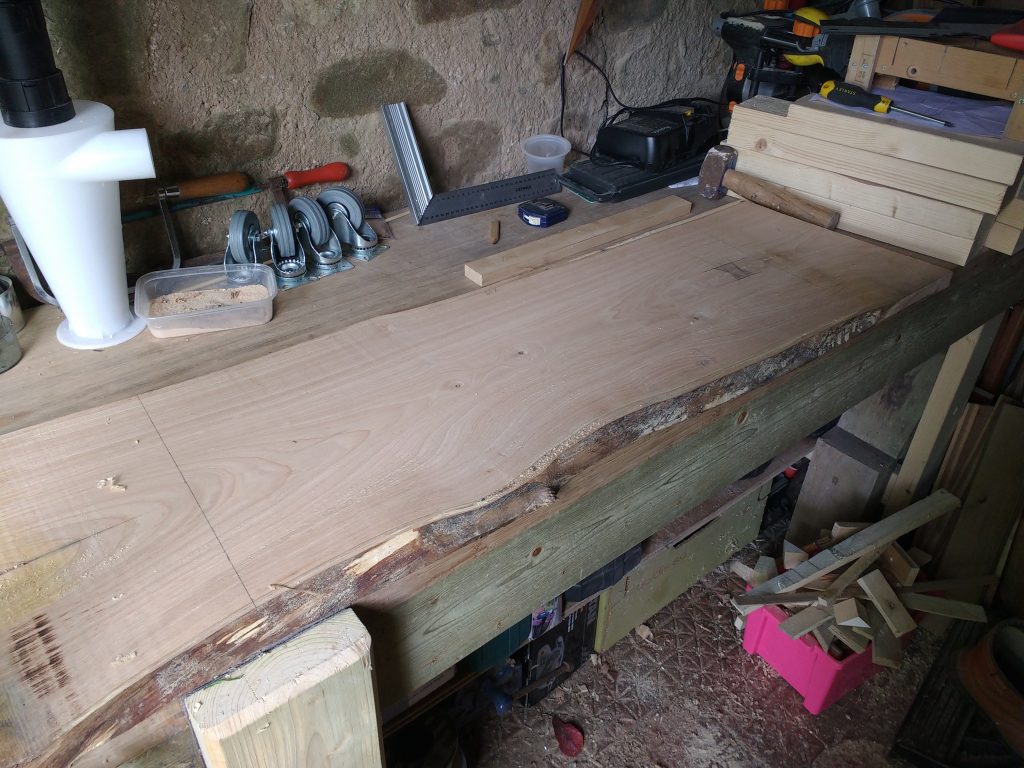 Since the board had cupped in storage and that had caused me some issues with the mitred joints, I decided to cut the shelf along its length so I could run each piece through my planer/thicknesser. Each of the boards was just narrow enough to fit though. I went with dowels as before to help with the alignment during glue up.
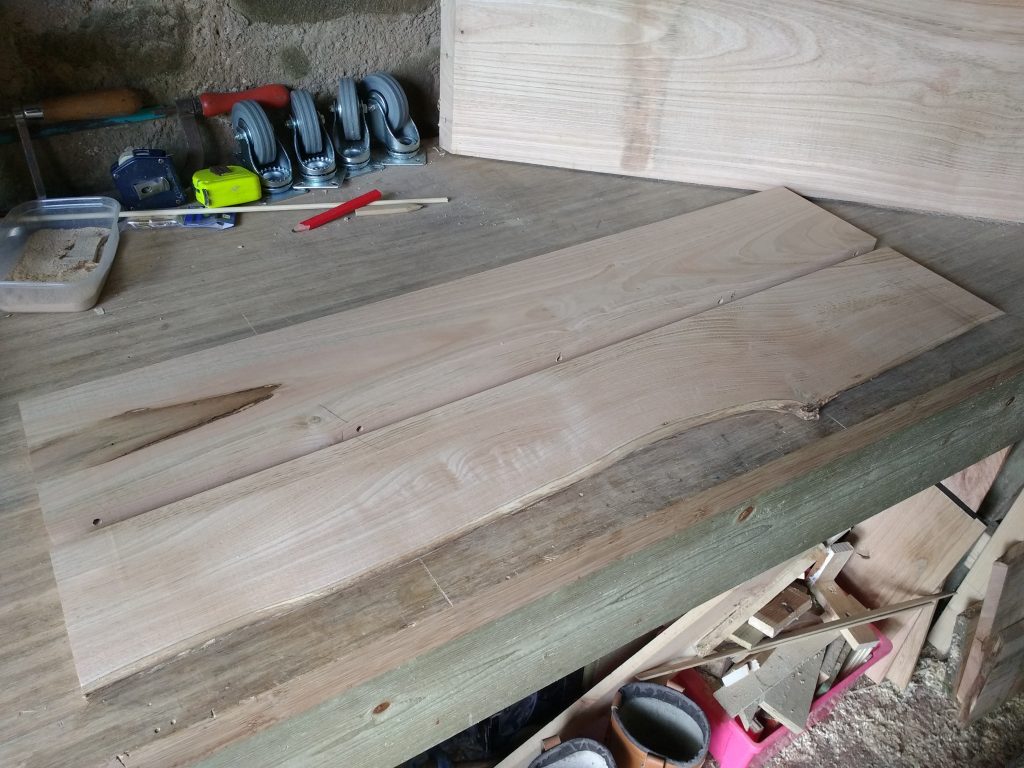 What is it people say? You never have enough clamps. I can vouch for that!
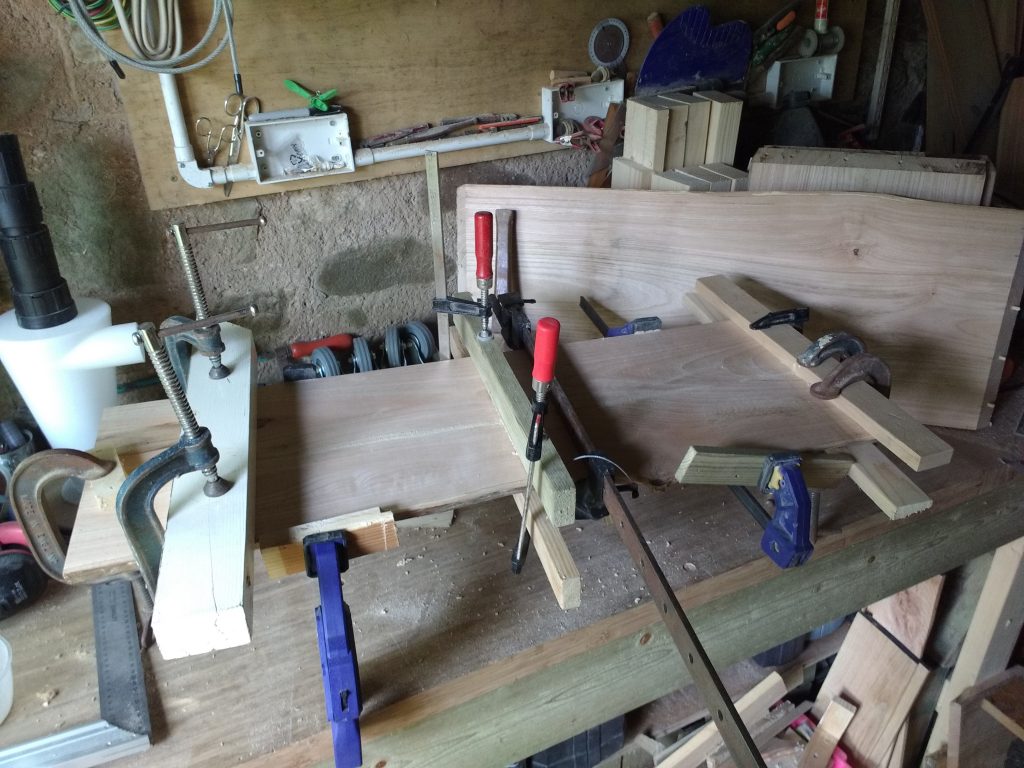 I added dados to the legs for the shelf. I didn’t want to have to make an oddly shaped dado to accommodate the live edge, so I opted for square dados. This meant I had to cut a little notch out of the ends of the shelf, which was easy enough, though a little nerve wracking.
 Dry fit to check the shelf fitted well. Everything was reasonably square and tight.
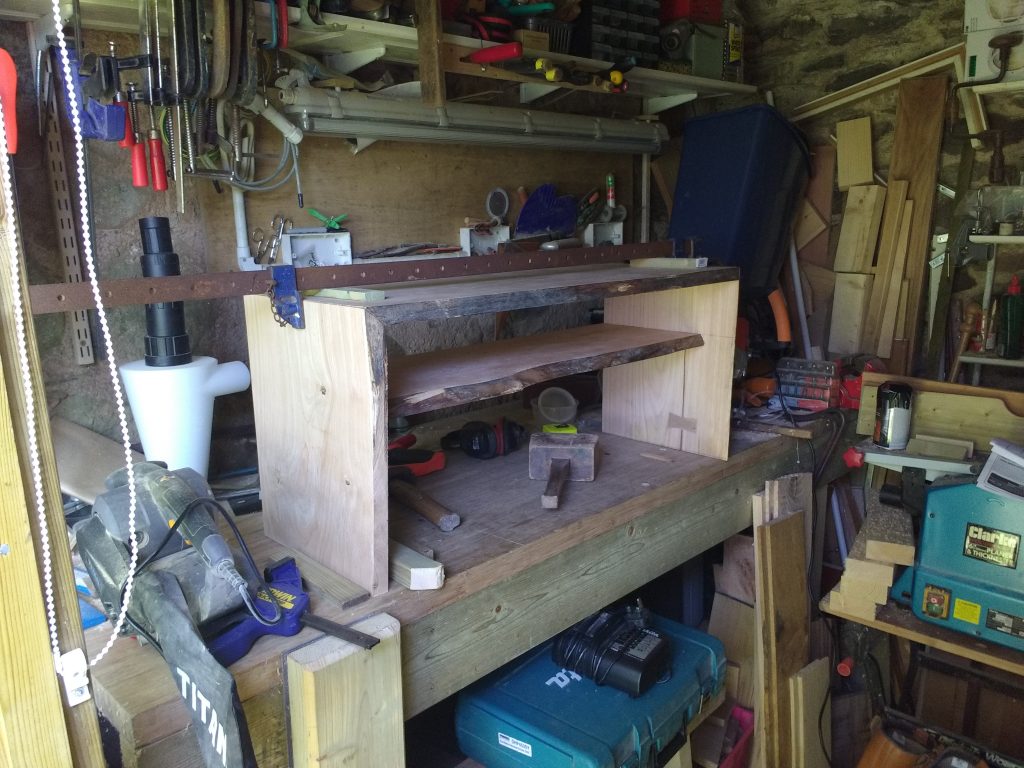 Actual glue up. This was not a fun experience. The end result is poorer than I had hoped for as the mitres didn’t sit as flush as I’d have like them to.
 Post-glue up. I had to sand the top and sides a little to get the mitres to look good.
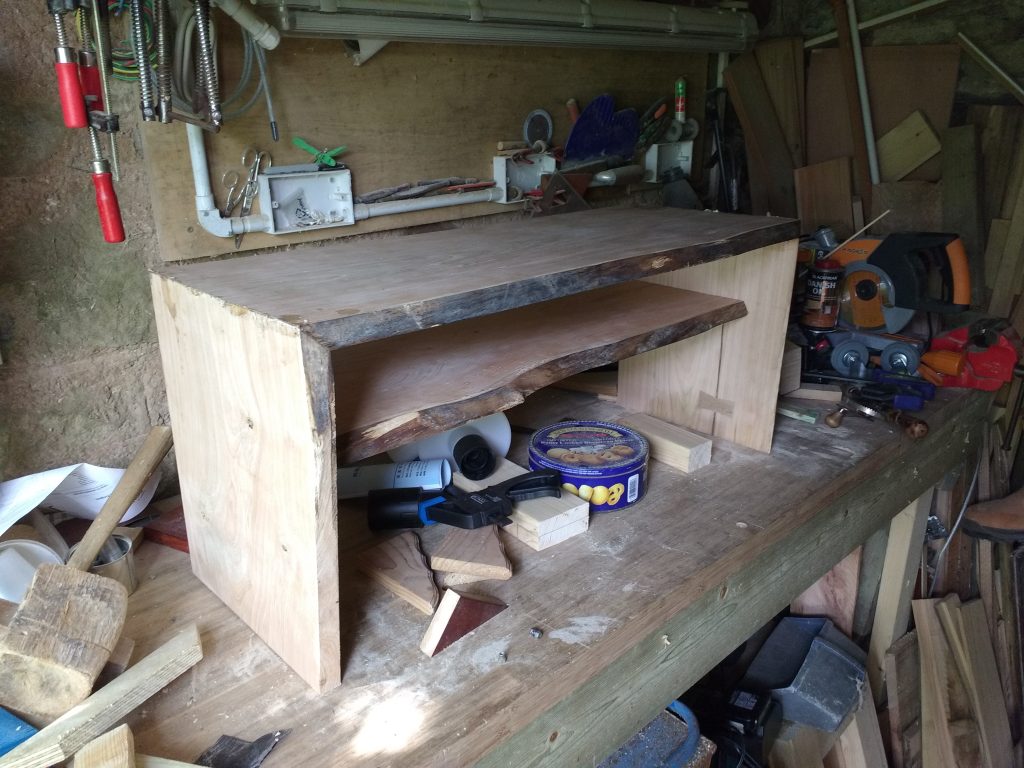 First coast of Danish Oil thinned by about 5% (I just eyeballed it). The oil really makes the live edge come, well, alive.
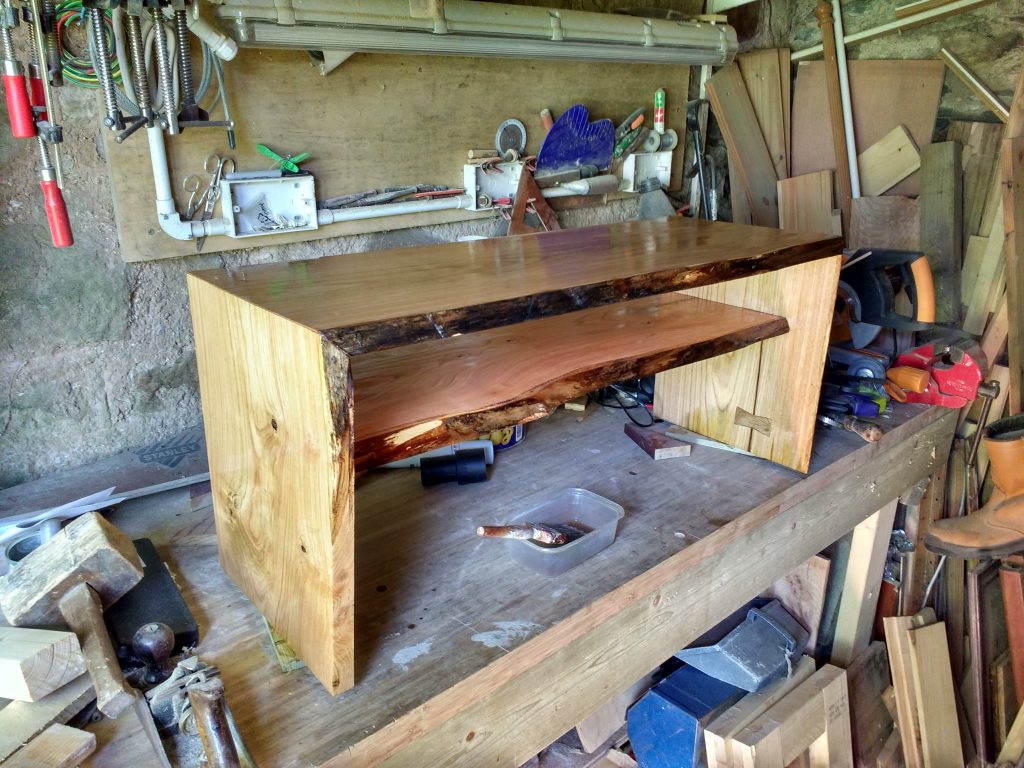 Back where we started, in the garden. The wax was freshly applied and buffed with a cotton cloth.
Category: woodworking
Tiny workshop workbench
More or less the final setup, minus the leg clamp on the nearest leg.
The bench is just 2×4’s for the legs with two 2×6’s for the front and back. The top is a bamboo work surface scrap donated to me by my neighbour which was leftover from their kitchen renovation.
I have a very small workshop (2.4m x 1.8m). I recently redid the slate roof as the previous one collapsed. As you can see, it’s pretty cramped. After struggling with my workmate for a couple of years, I decided it was time to make a proper bench. I loosely followed Matthias Wandel’s workbench build.
I made one of the sets of legs too deep and rather than make my life easy, I thought I’d fix the mistake by practising my lap joints. I hadn’t got particularly sharp chisels at this point, so it was a bit painful.
Gluing up the lap joints on the wrong leg. I realised my mistake by the time I made the second leg, so it didn’t need any fixes. Each leg is dowelled and glued from the ends. The legs are pretty sturdy!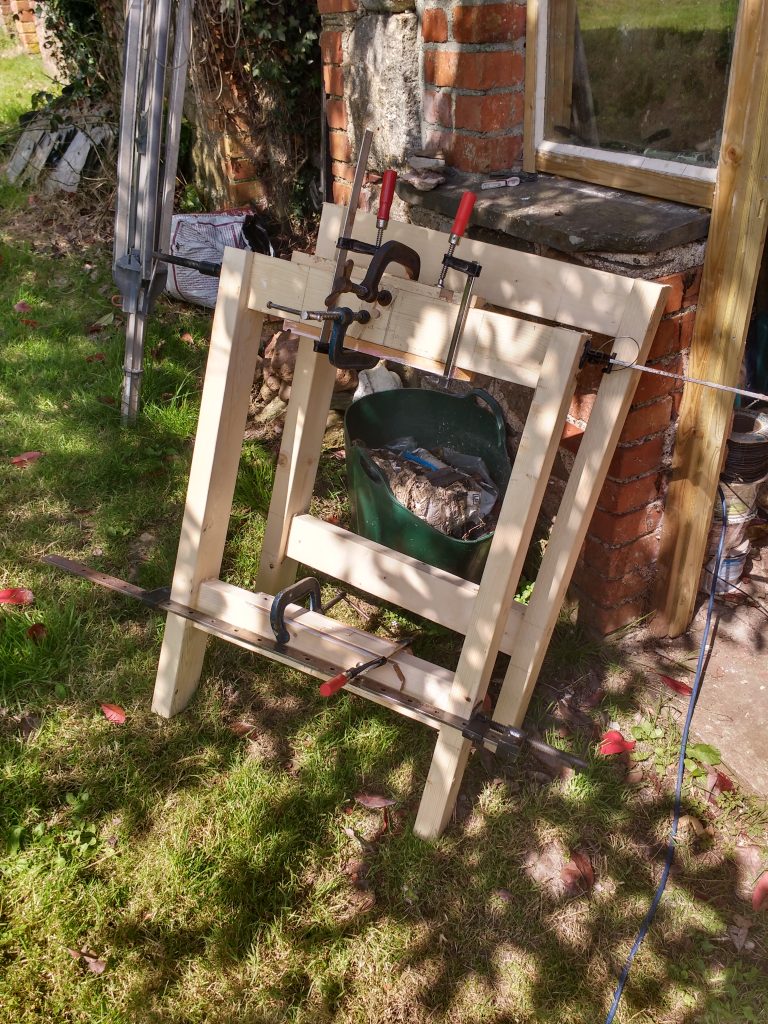
Cutting the dados with my circular saw. Glad I did this with the electric saw as there’s a nasty knot right on the edge of the dado.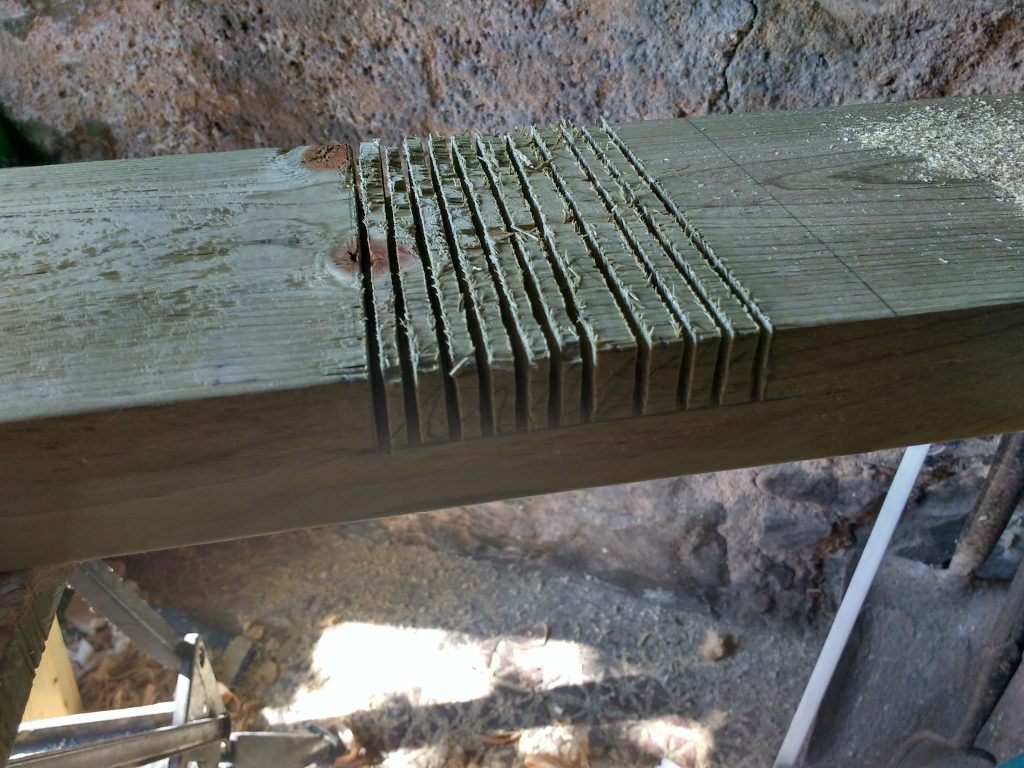
Here I am testing the rail to see how much space my new workbench would take up.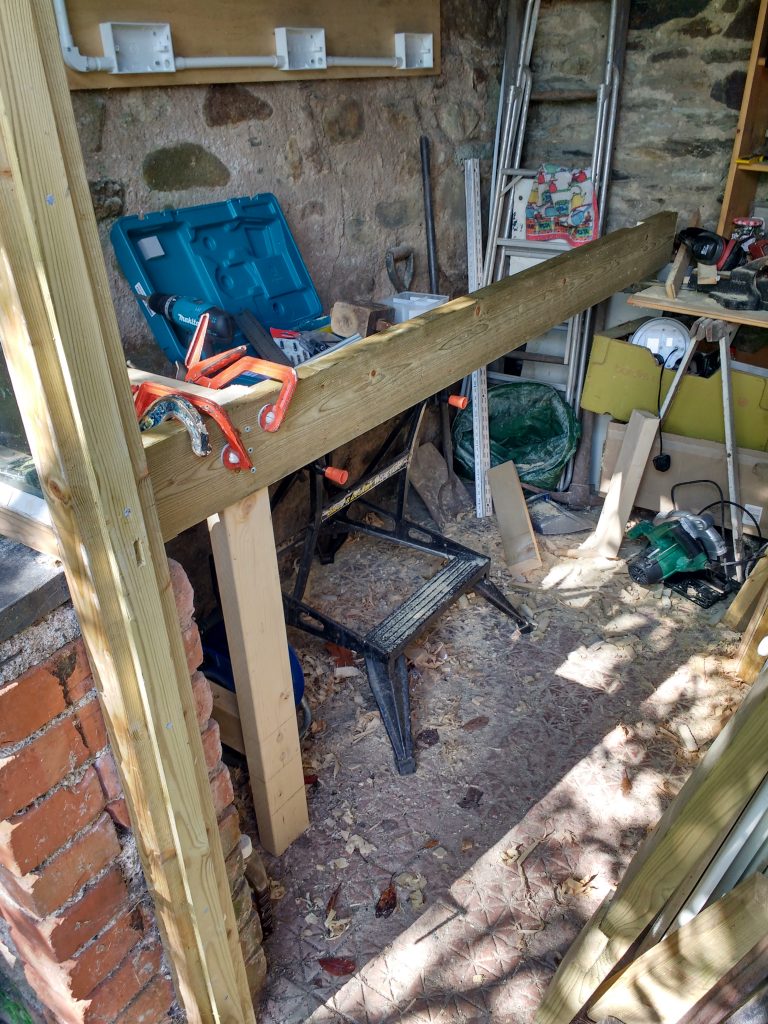
Here’s the finished base. The rails are screwed onto each leg so that I can dismantle the bench if I need to.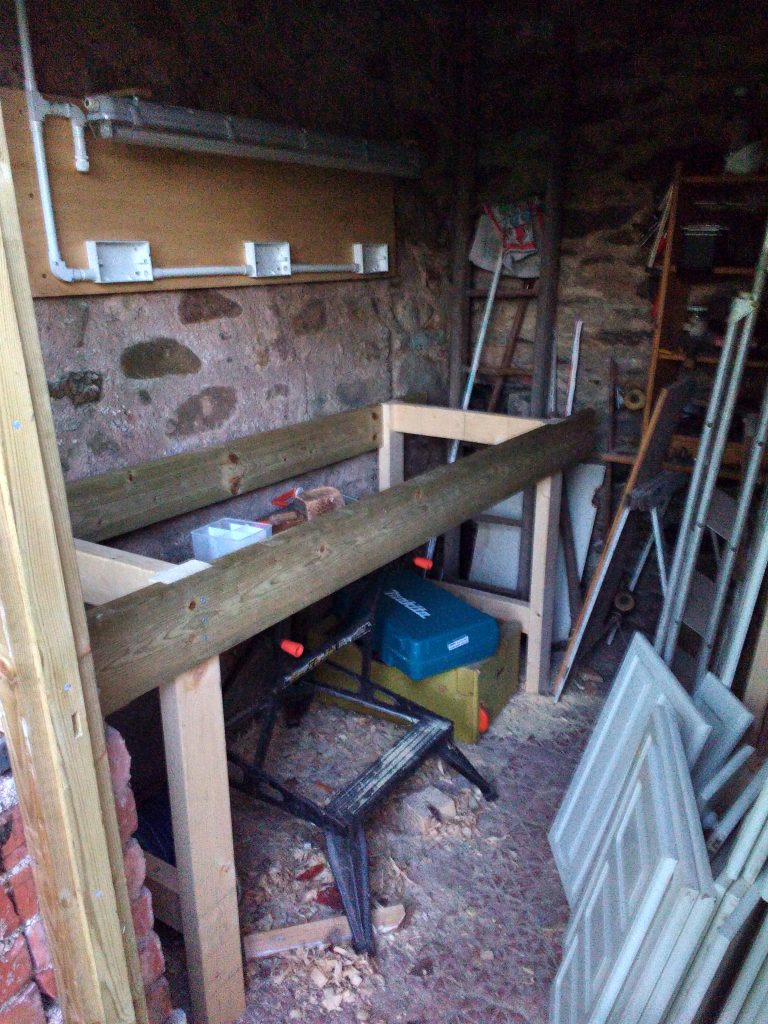
The laminated bamboo piece of work surface I was given was an odd shape: 900mm deep and ~1.4m wide. I had another scrap which was ~600mm deep and 1.2m long, so I cut the big piece to the depth of the bench (650mm) and cut the long piece to fit the remaining hole. This means that the end piece runs perpendicular to the main part, but it’s not posed any problems so far.
Here’s the main part of the worktop cut and laid on the base. I still needed to cut the end section at this point.
The bamboo top had been in a damp shed for a few years, so it needed a bit of sanding to bring the surface back to life. Besides that, it was in surprisingly good condition! And you can’t beat the price.
The top is attached to the base with blocks of wood screwed to the rails and then a screw running through the block into the base of the top. The vice at the end needed some restoration, so I took that back to bare metal and repainted it red later on.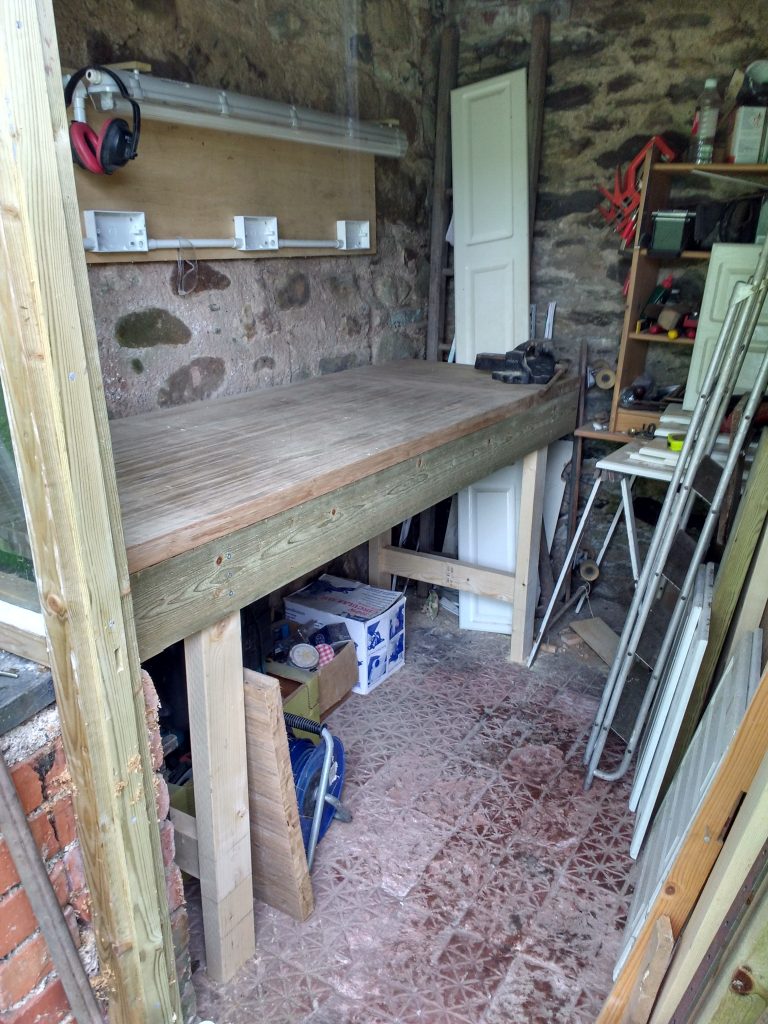
My dad gave me a leg vice screw which he’d used when he was younger. It is one of two, the other is my granddad’s and is still used, but this didn’t come with any instructions! I made simple vice from a piece of leftover rail. I bevelled the edge with my router (this being the first time I’d ever used one). The finish is OK except where I made the edges a little rough around the curve.
When cutting the hole for the bottom bar, the wood split from the hole to the bottom. I drilled a 15mm hole and ran a dowel through it to hold the piece together. So far, it seems to have held up OK.
Dry fit of the vice. I held the vice in with some clamps to properly line up the holes I needed to make in the leg.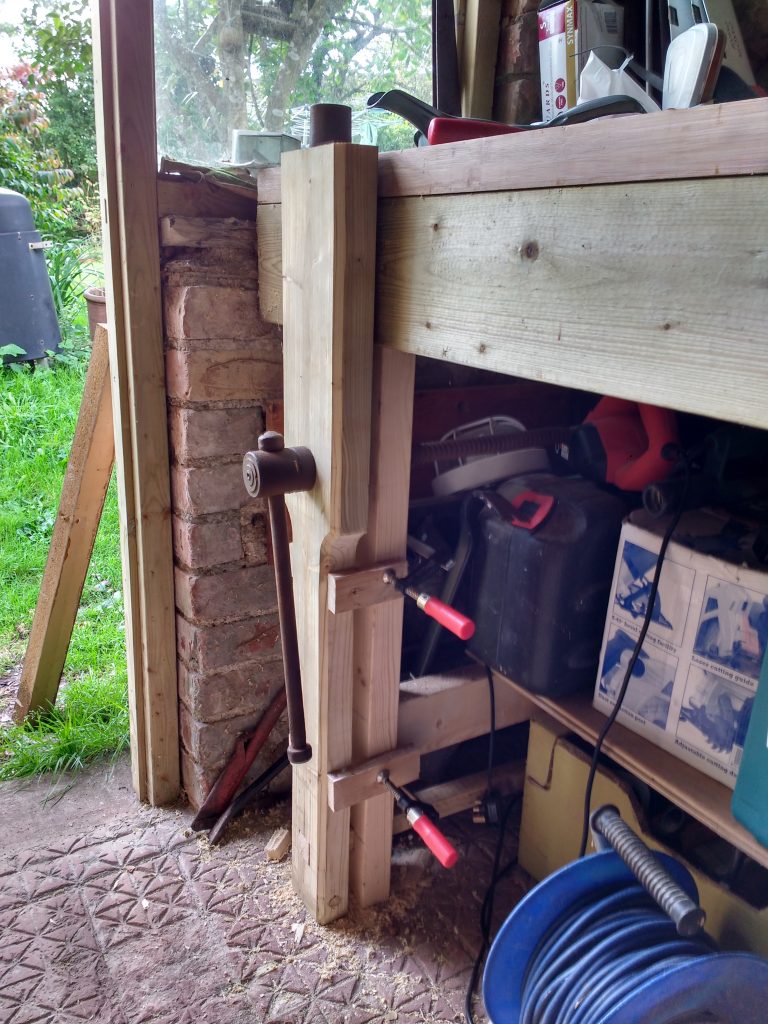
I had to make a block to hold the back of the screw onto the back of the leg. I also bevelled the top of the vice but in doing so chipped the top (see next photo).
Here’s the top of the leg vice with the bevel and the chip. The bar in the screw is also too long for me to be able to rotate it without hitting the wall. I just stuck a little wedge in to hold it halfway up.
Here’s the restored bench vice attached at the opposite end from the leg vice.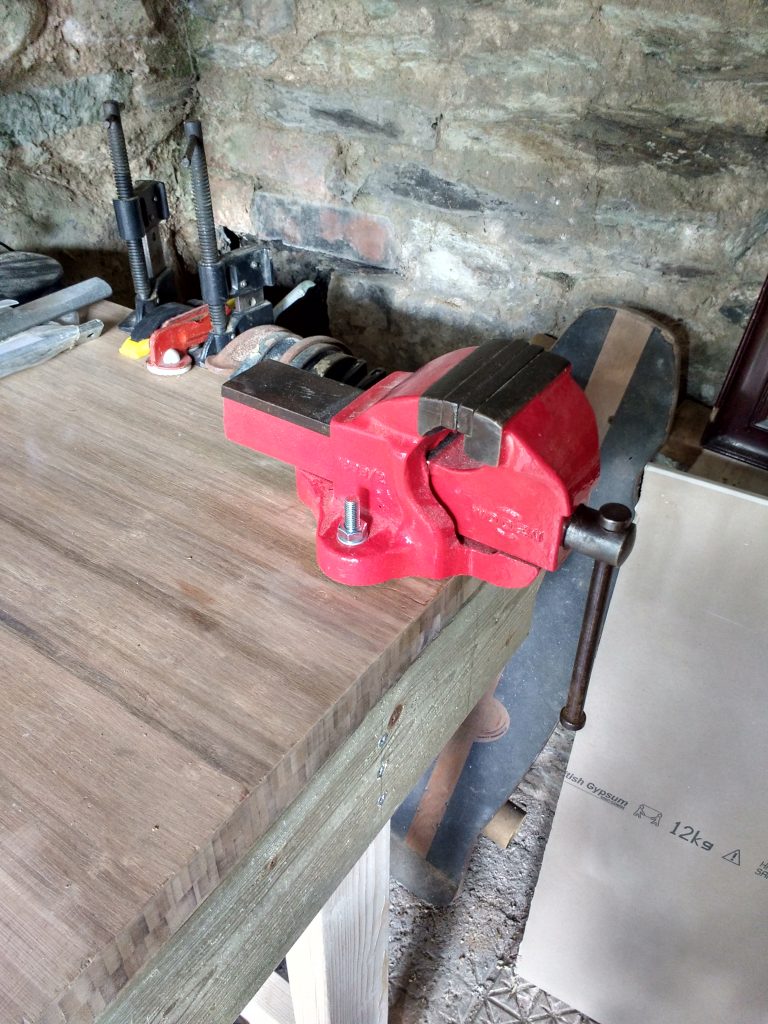
Made a little toy with my first ever dovetails!