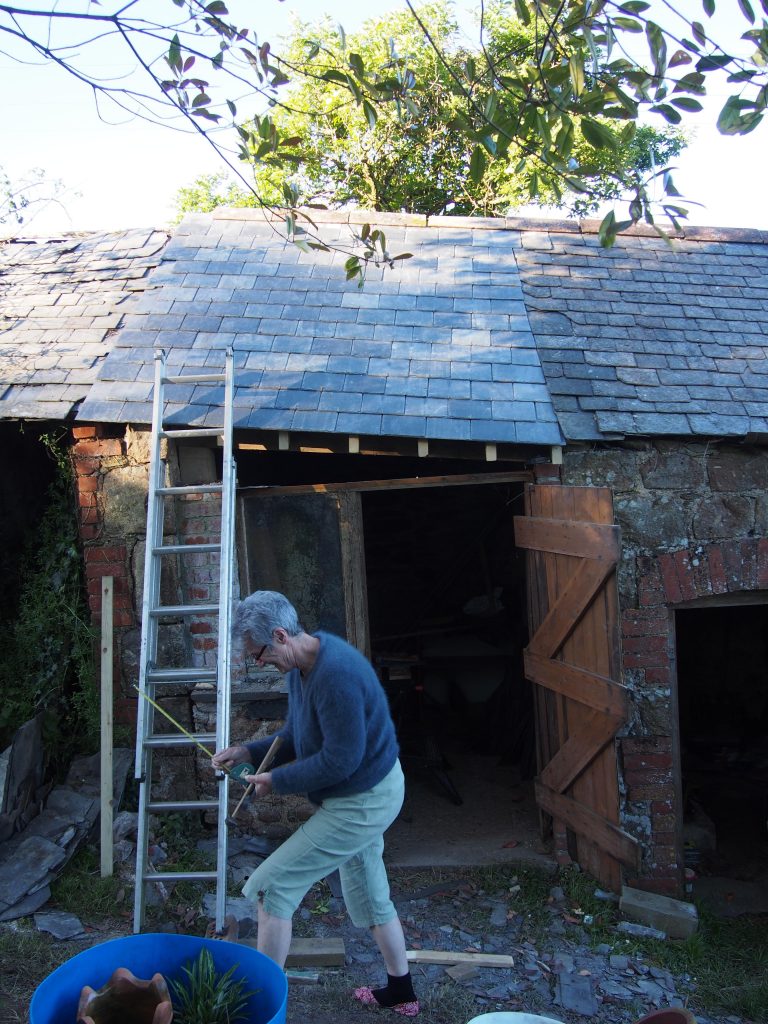
Following on from replacing the workshop roof, I needed to replace the roof of the adjacent two sheds we have. At the time of the original work, the workshop’s roof was in significantly worse condition and so that’s what we worked on first. In the intervening years, however, the other roofs have deteriorated to the point that they need replacing too (some holes in the top, slipped slates and rotting woodwork).
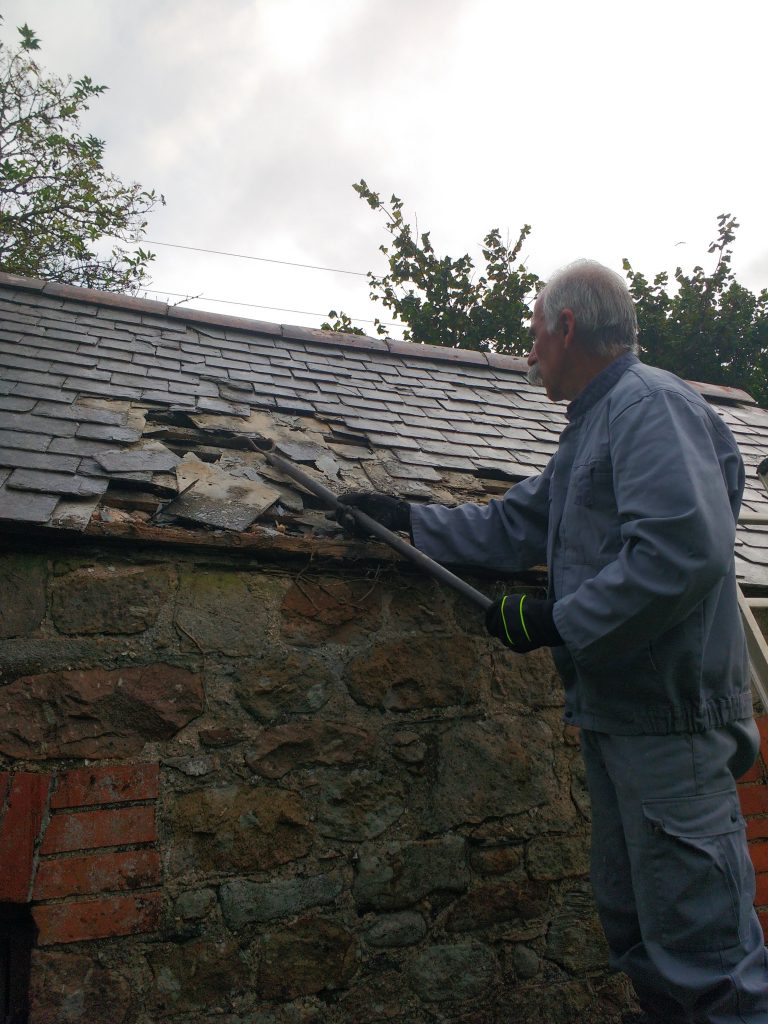
First order of the day was to remove the old slates. This was pretty easy as although the slates look solid enough, in reality, they were extremely brittle and broke away easily.
Slates all removed and handy hole cut in the roof for easier access.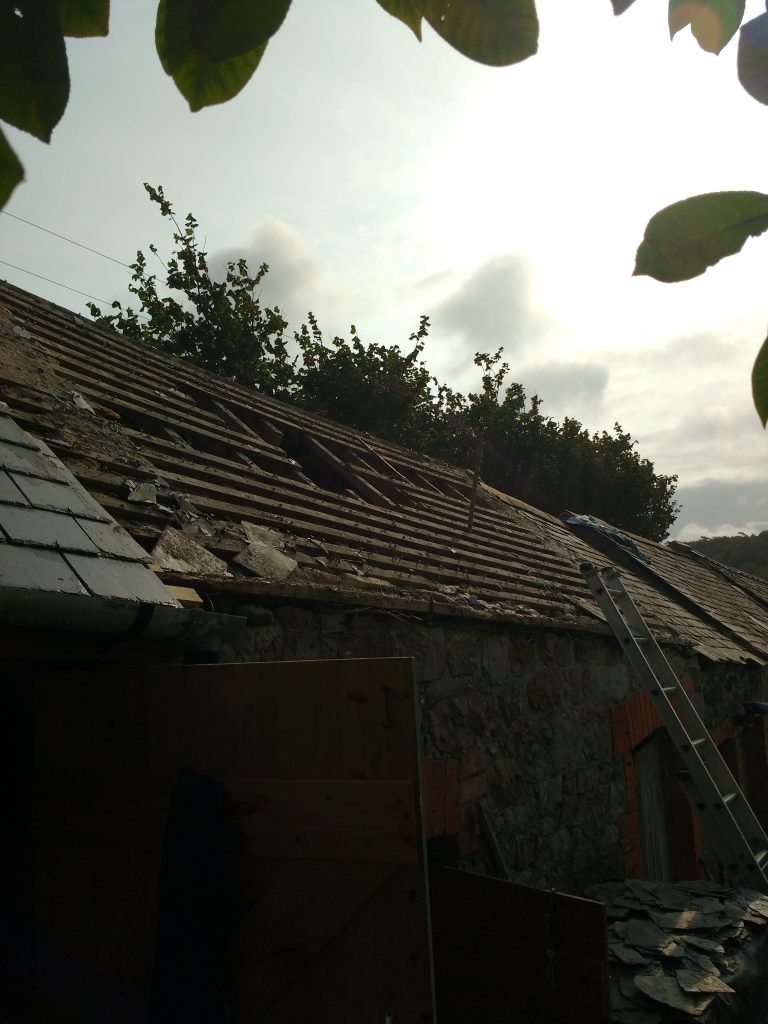
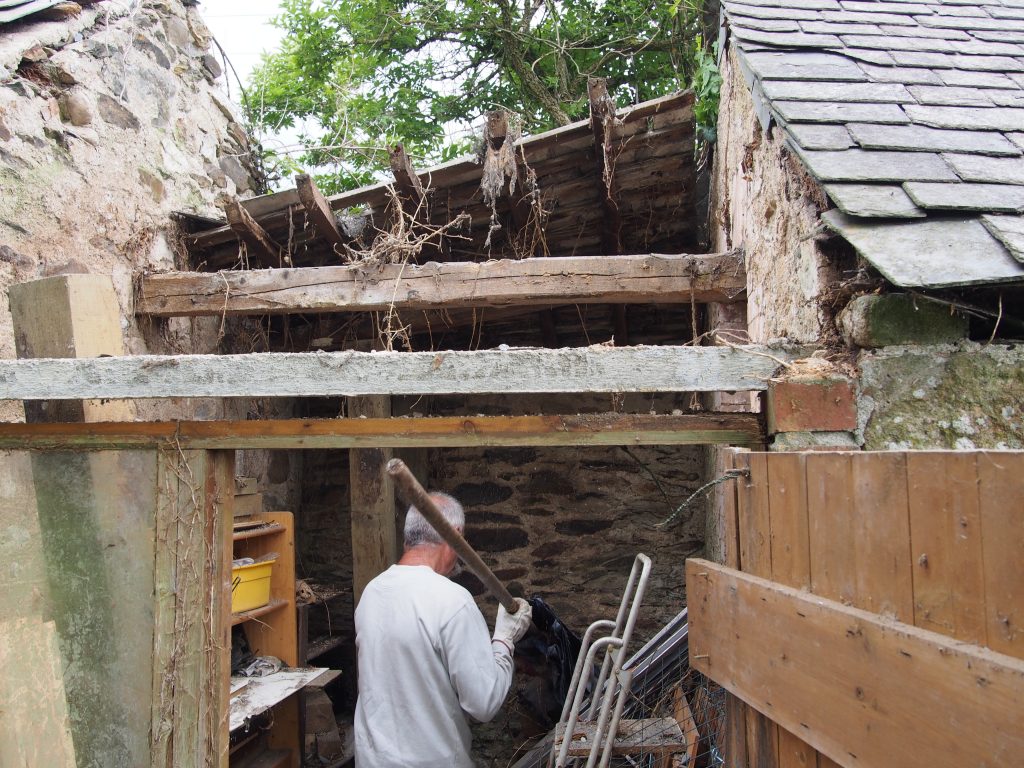
Front portion of the roof (purlin, rafters and battens) removed. Inside was a mess!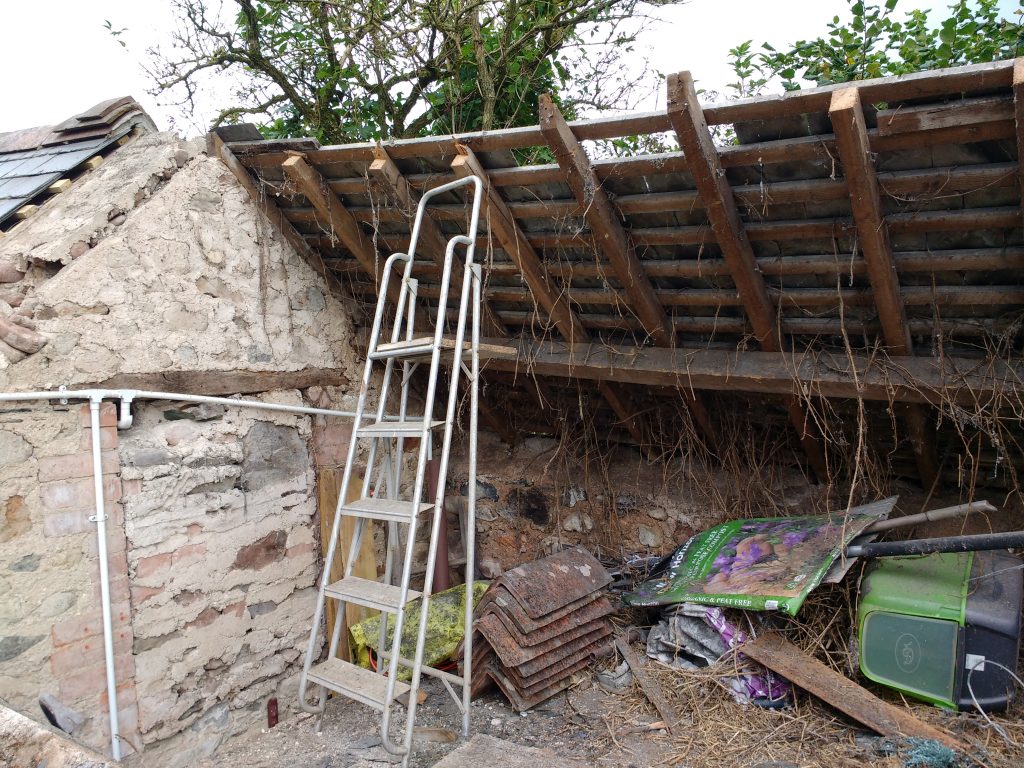
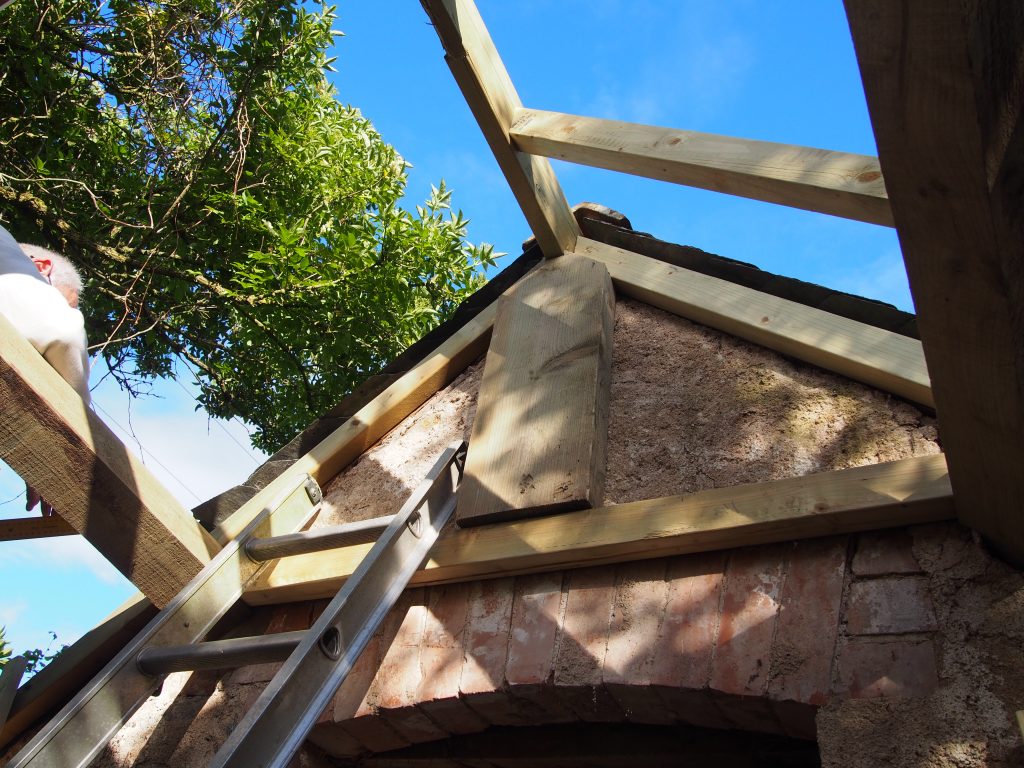
I had to work for a day so work continued in my absence. Here the wall plate, ridge beam, purlin, rafters plus the first few rows of battens have been installed. The trick here was integrating the new roof with the roof visible to the left and a roof down the hill (not visible). This involved lots of string and carefully measuring to make sure the roofs would interlace nicely.
We added a water resistant breathable membrane under the battens to help accommodate the fact we were unlikely to complete this without it raining at some point.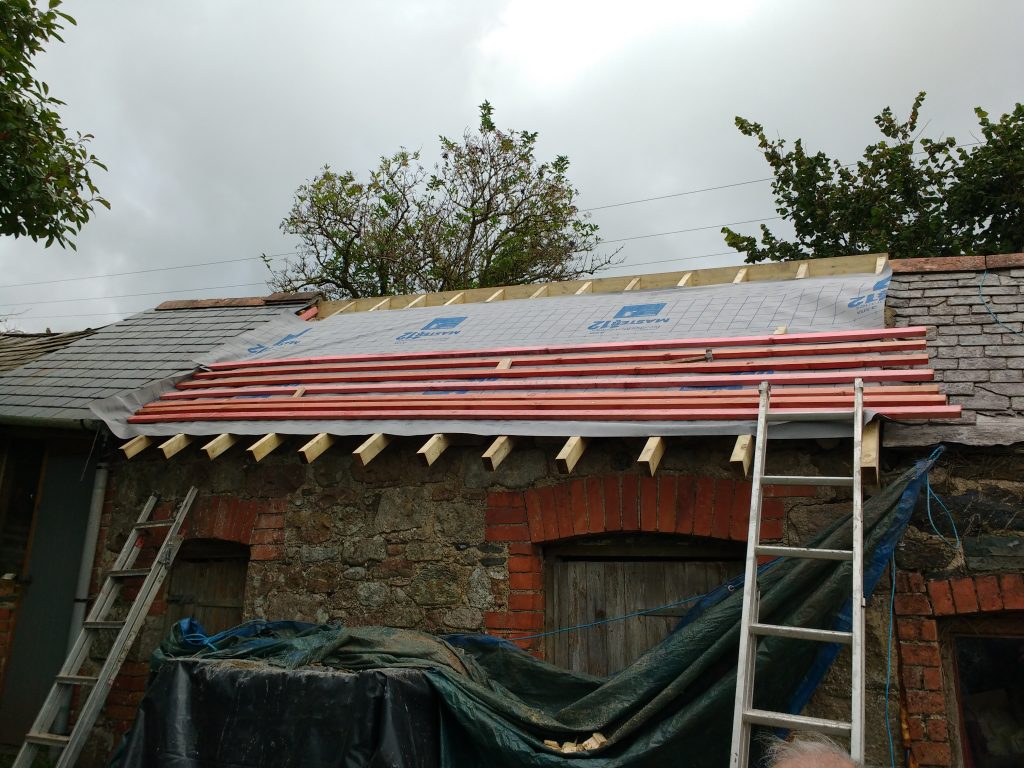
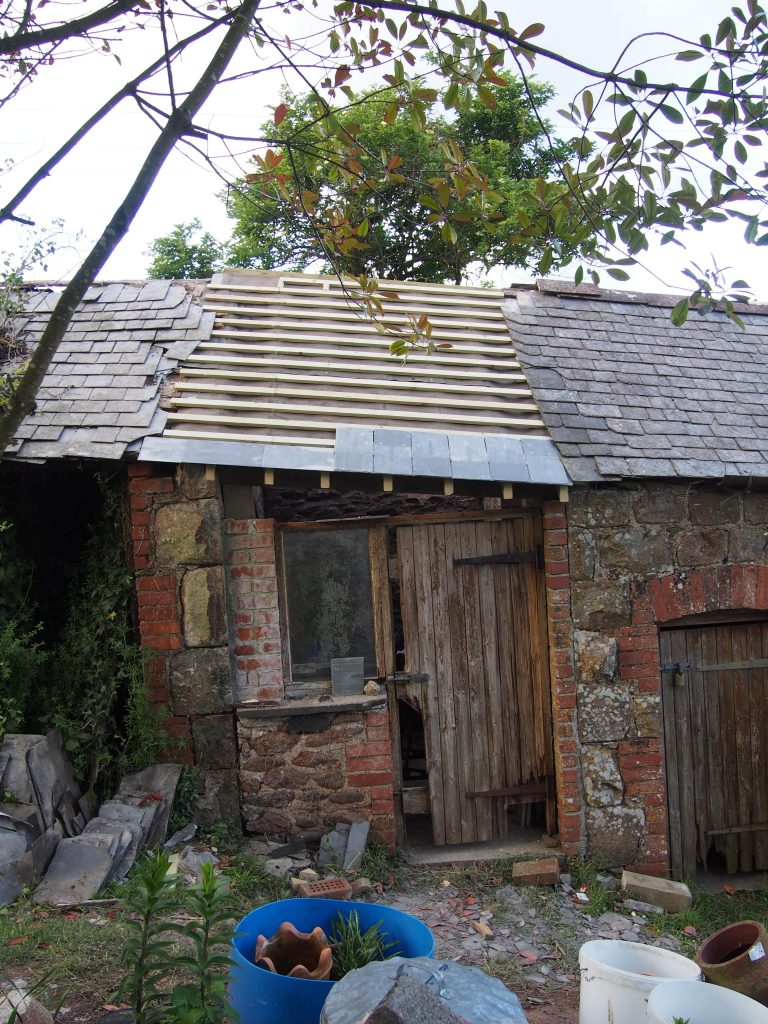
Front roof battens complete.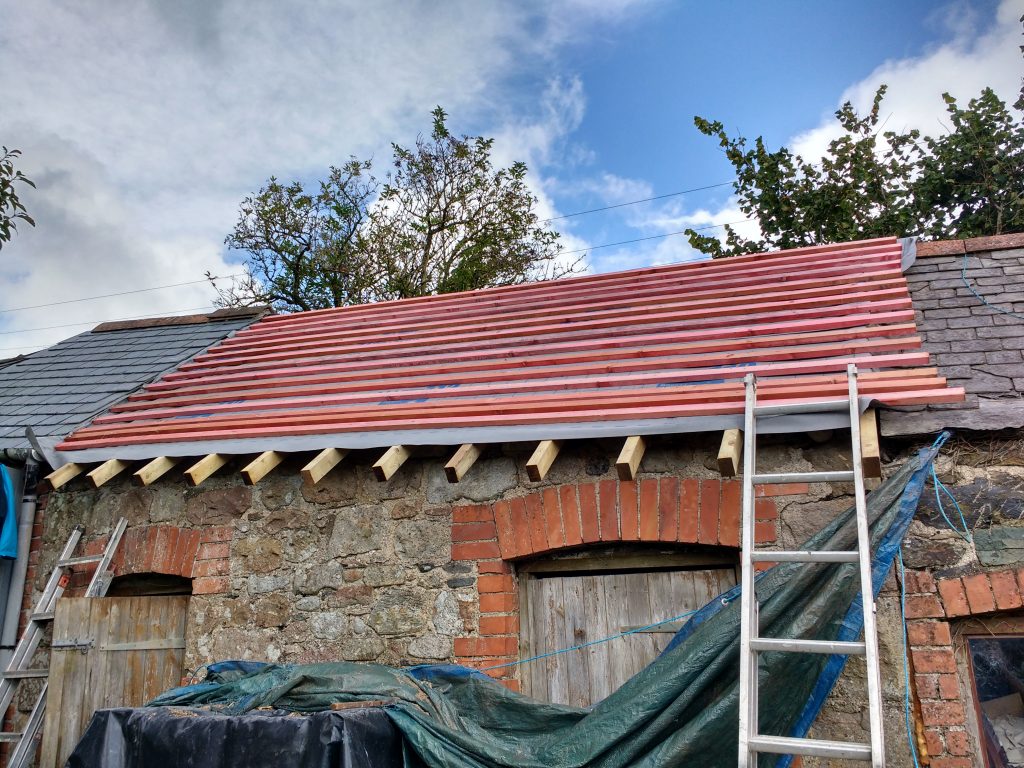
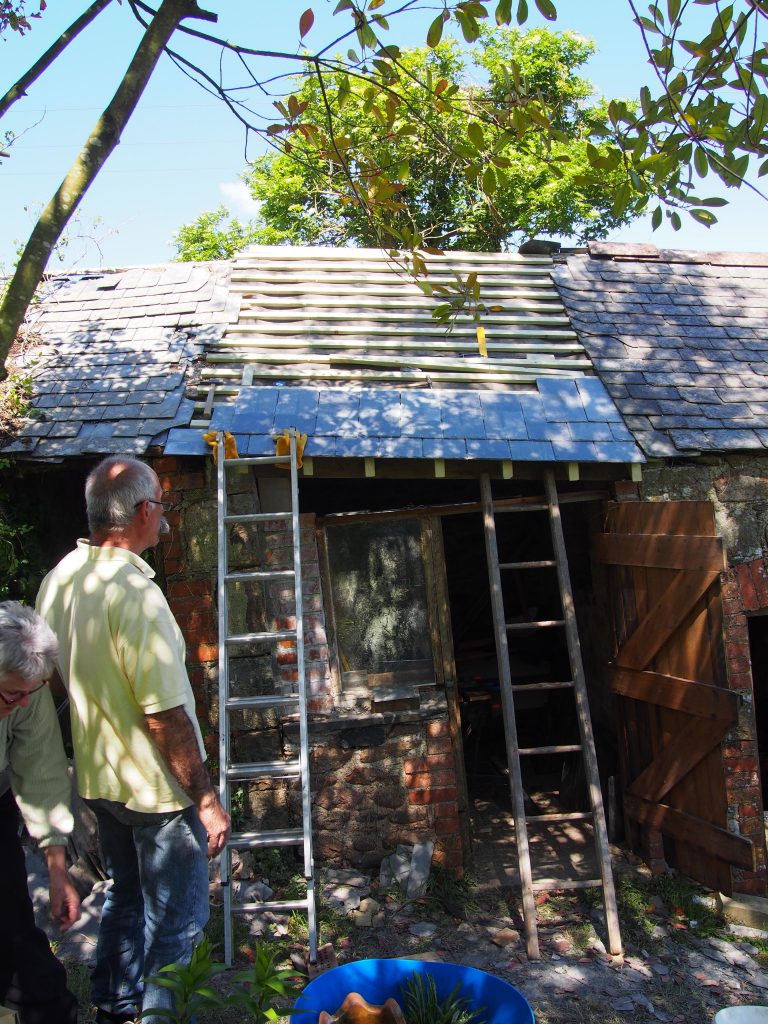
Adding the first row of slates. We used a double layer of slates on the bottom row to allow water to fall from the roof easily.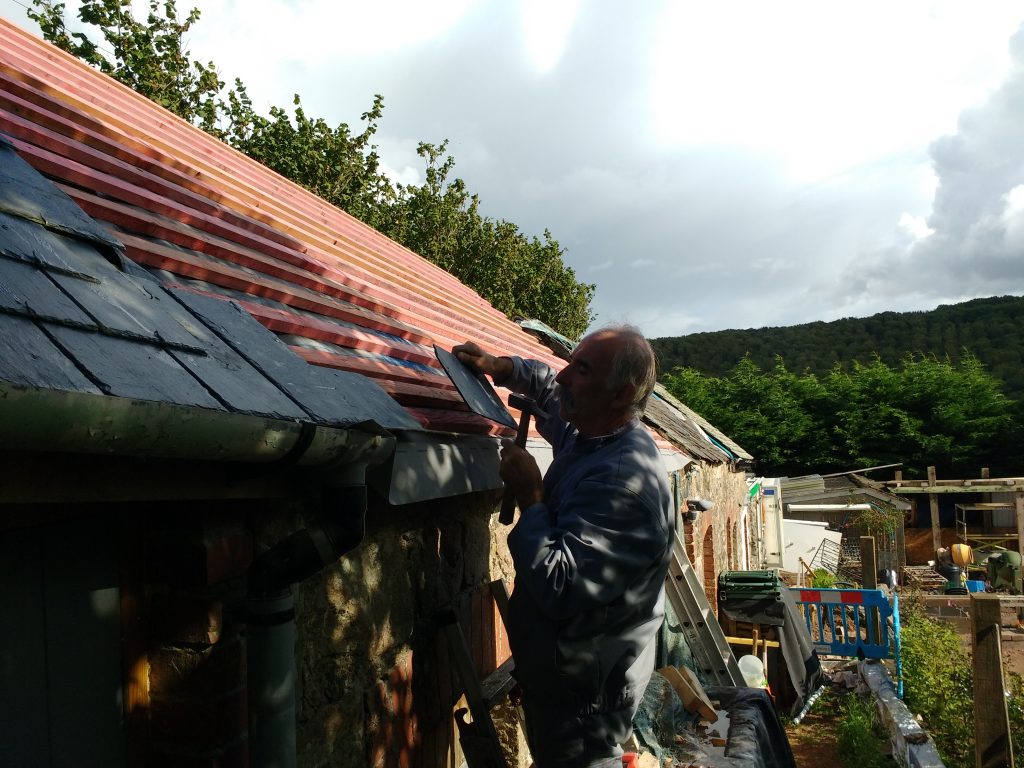
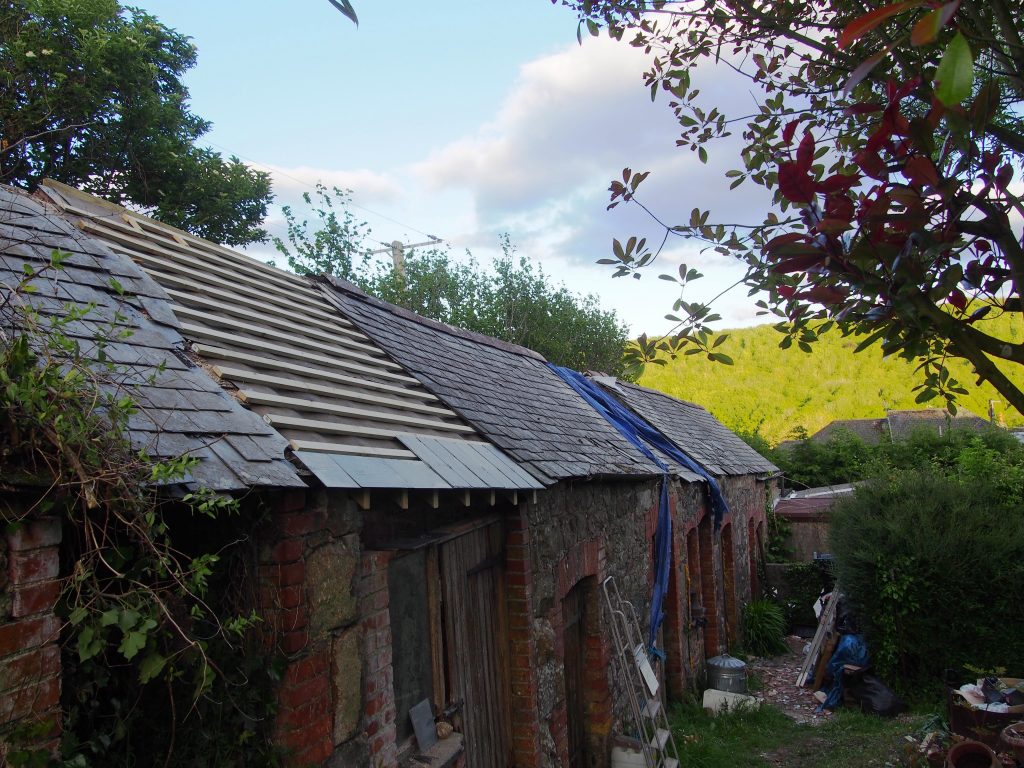
Meshing the slates between this roof and the next was tricky as the roof on the left is pitched down the hill slightly differently. Nevertheless, we managed to get them integrated without too much hassle.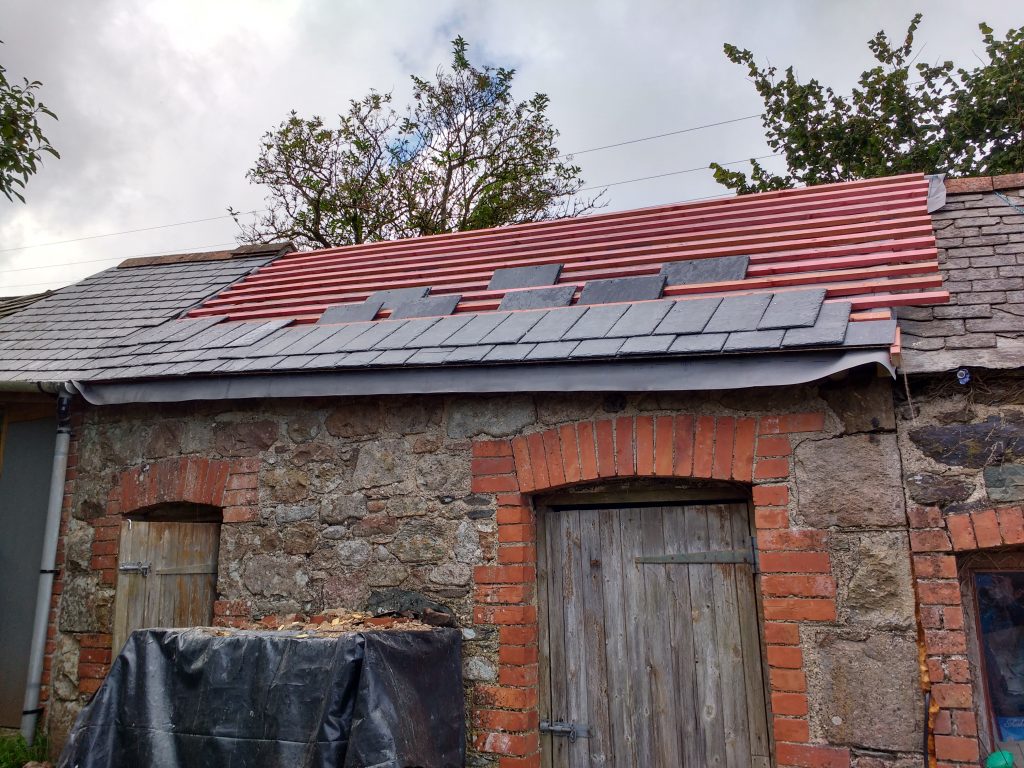
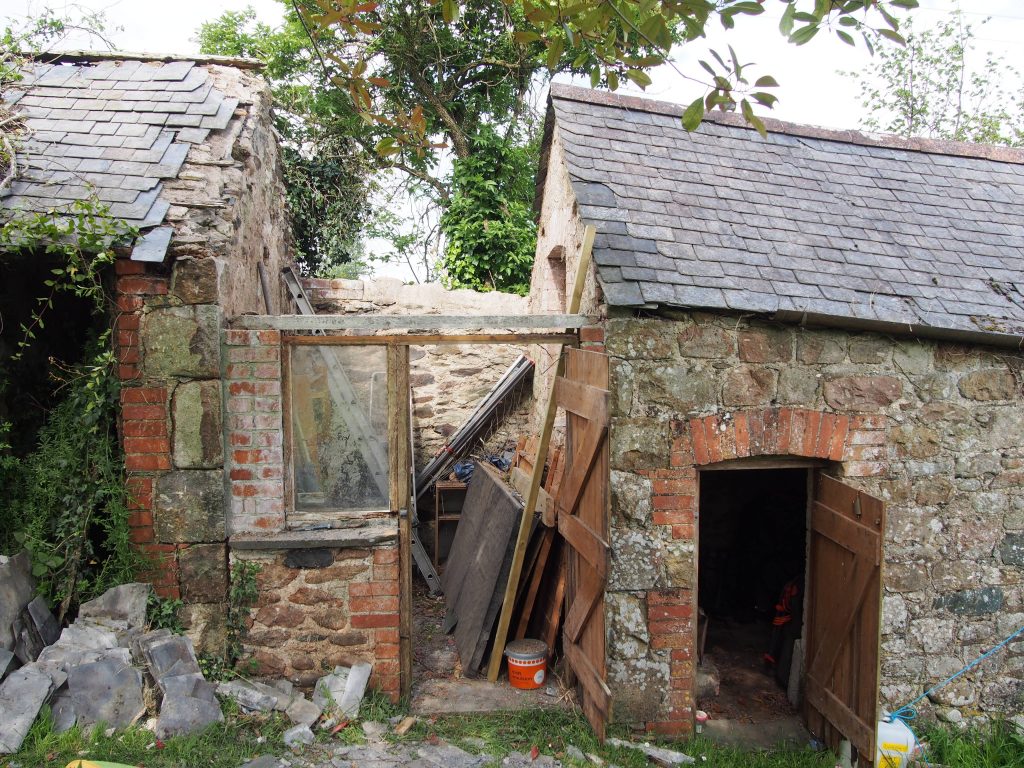
Work starts on demolishing the back.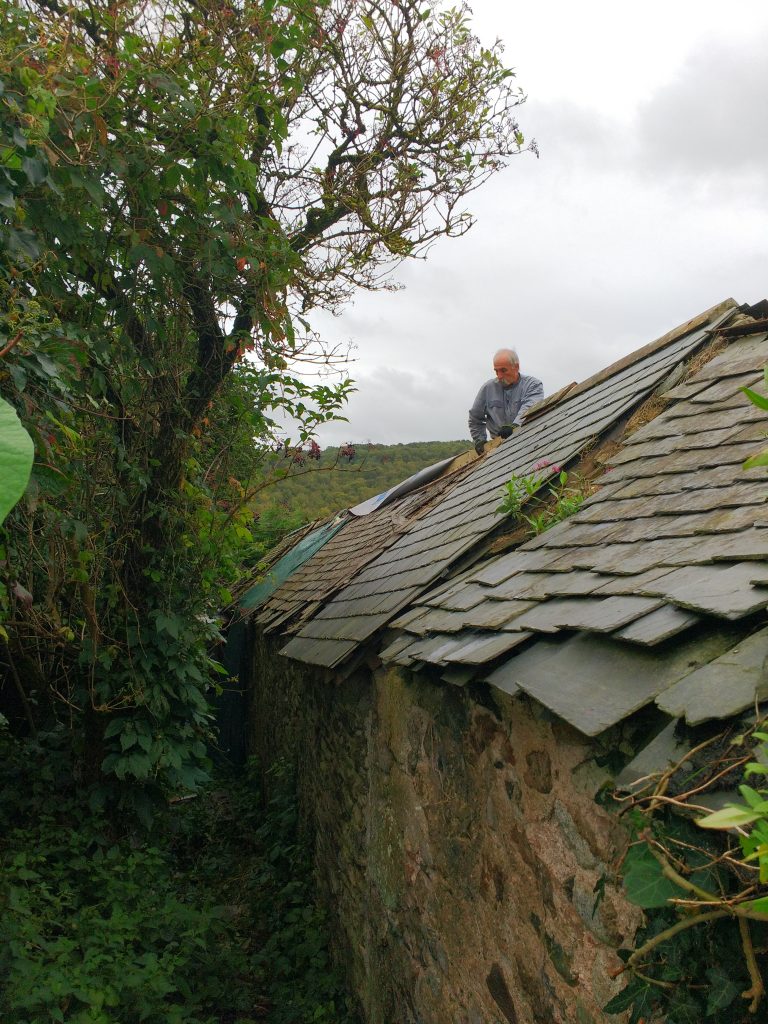
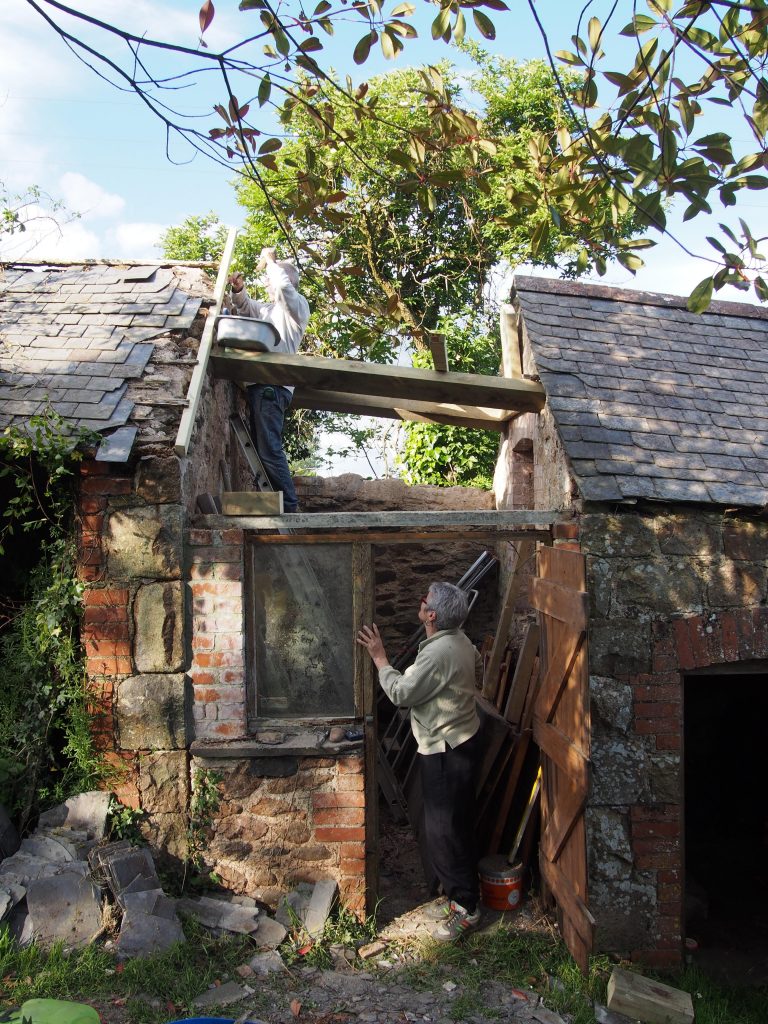
Rear section cleared and purlin installed. We opted for a more catastrophic approach to removing the old roof here: we just pivoted the roof off the wall and onto the floor. In all, removing the rear section of the roof took about 2 minutes!
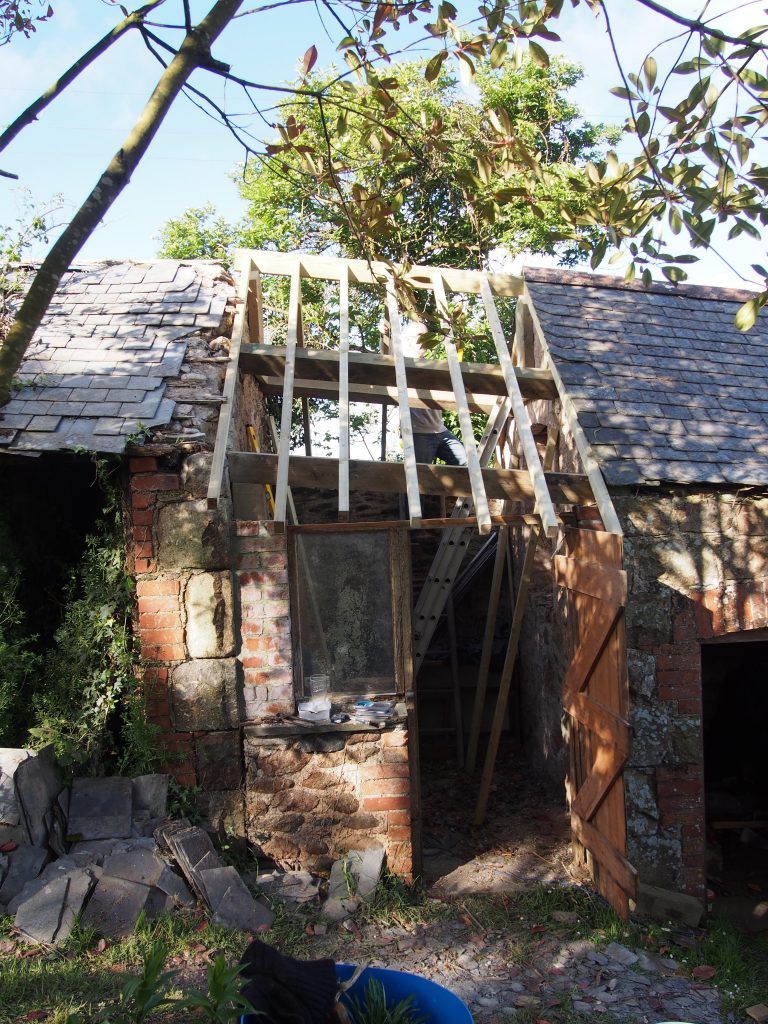
We had to notch the wall plate to get the rafters in the right position so it would interweave with the existing roof visible on the right and the bottom roof just about visible on the left.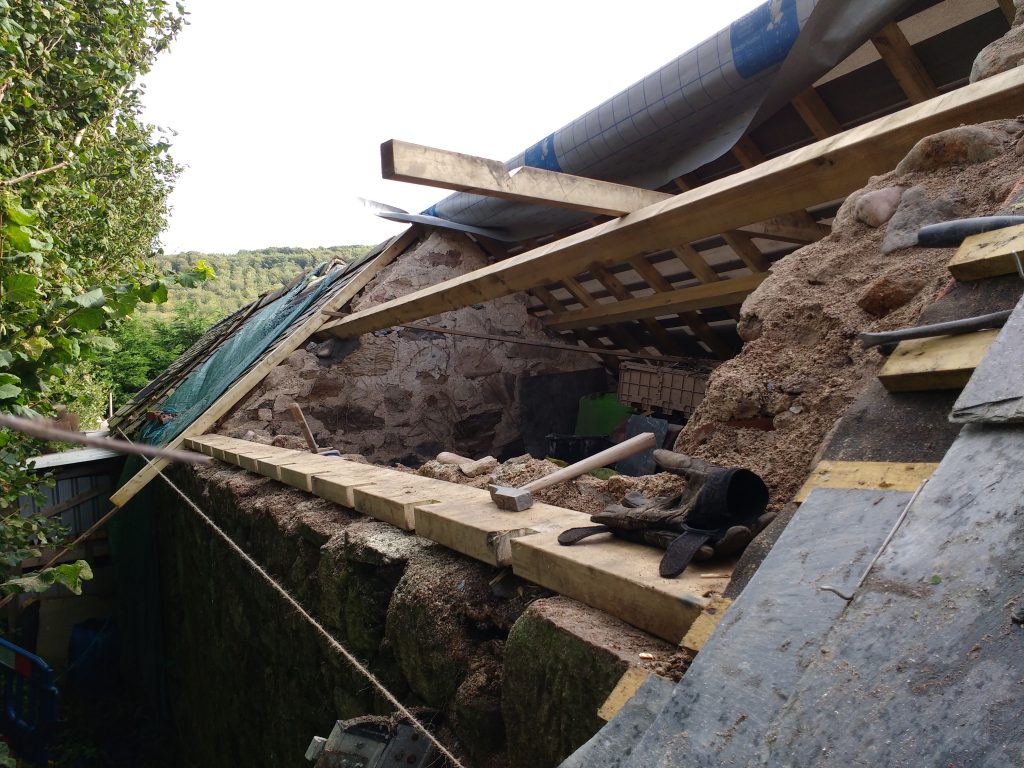
Not a bad view from the top!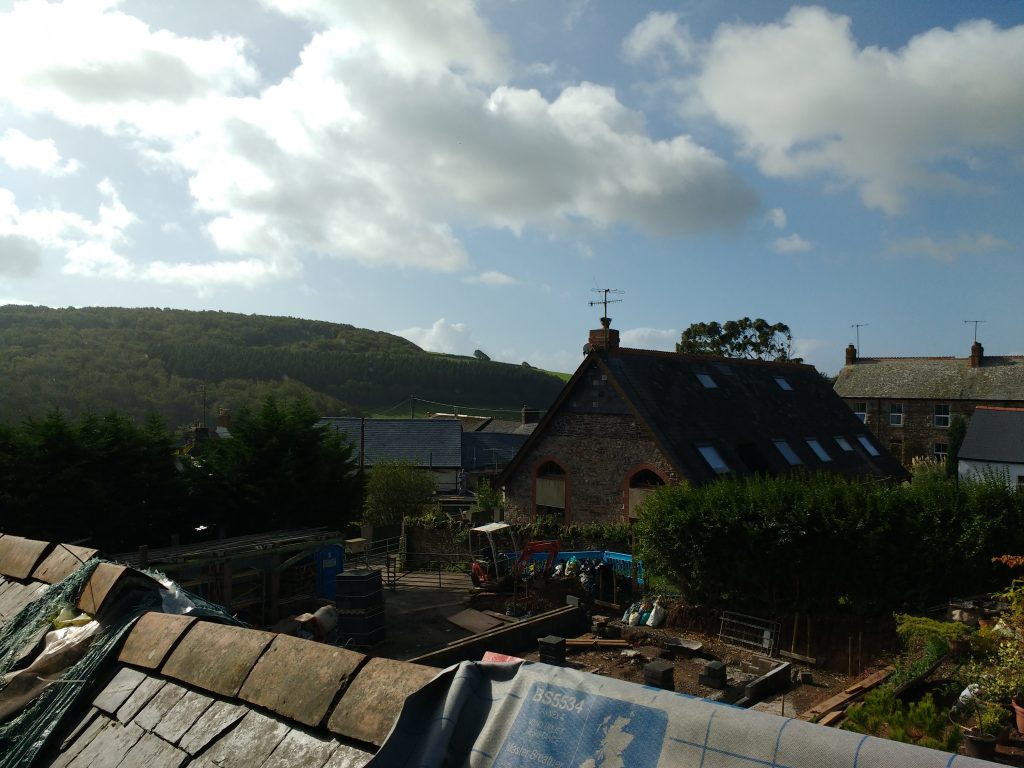
First battens being installed along with the breathable membrane.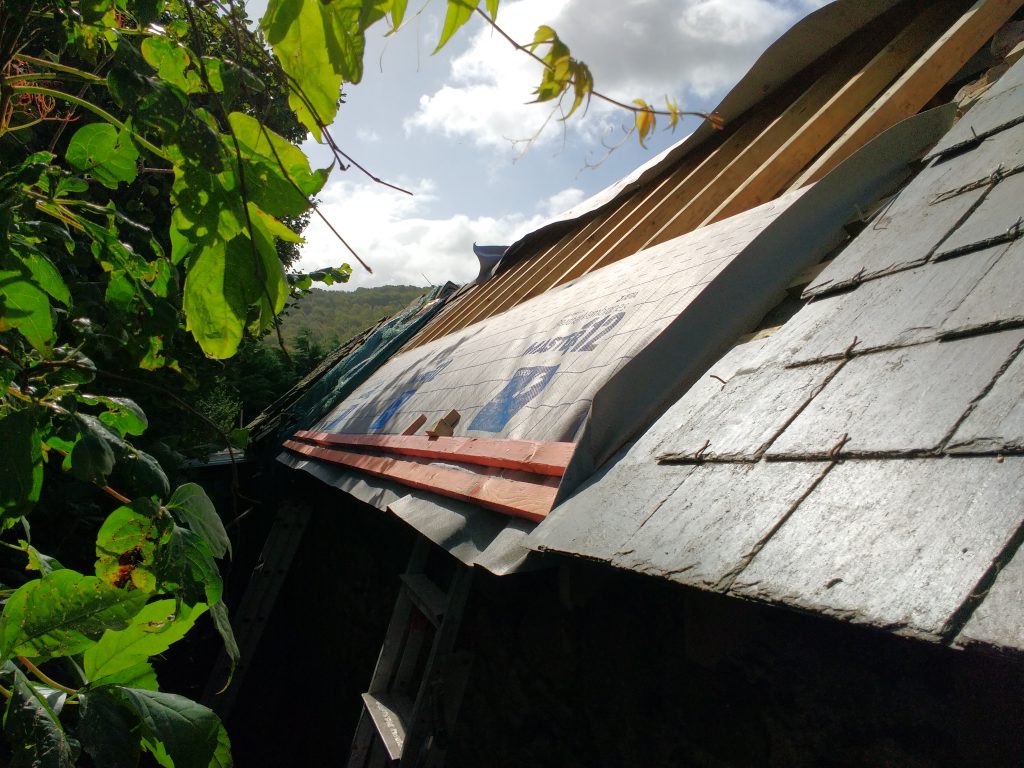
The view from inside. I like the fact it was nice and bright inside, so I decided I would roof part of the back of the roof with plastic tiles. In the end I had to have custom cut plastic since nothing was available for sale. The cost per plastic “slate” was about ten times more than an actual slate. Lesson learned!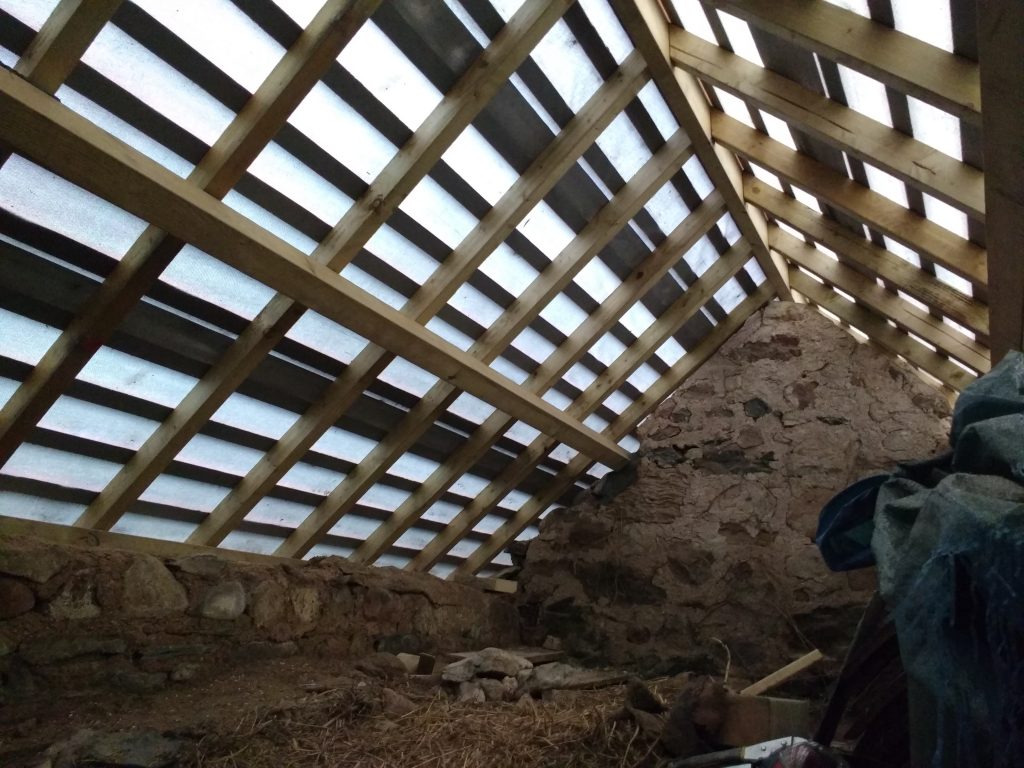
Making progress on the front section. You can see where the pitches of the old roof and the new section don’t quite align (slight dip in the line of the bottom row).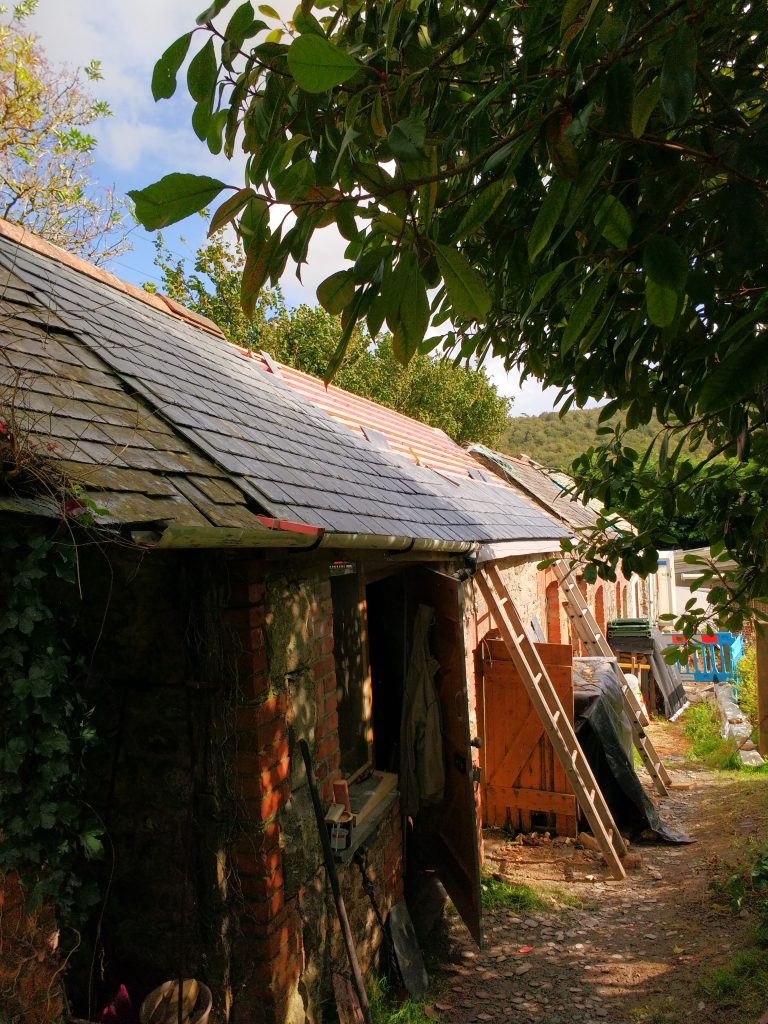
However, the dip is less pronounced further up the roof.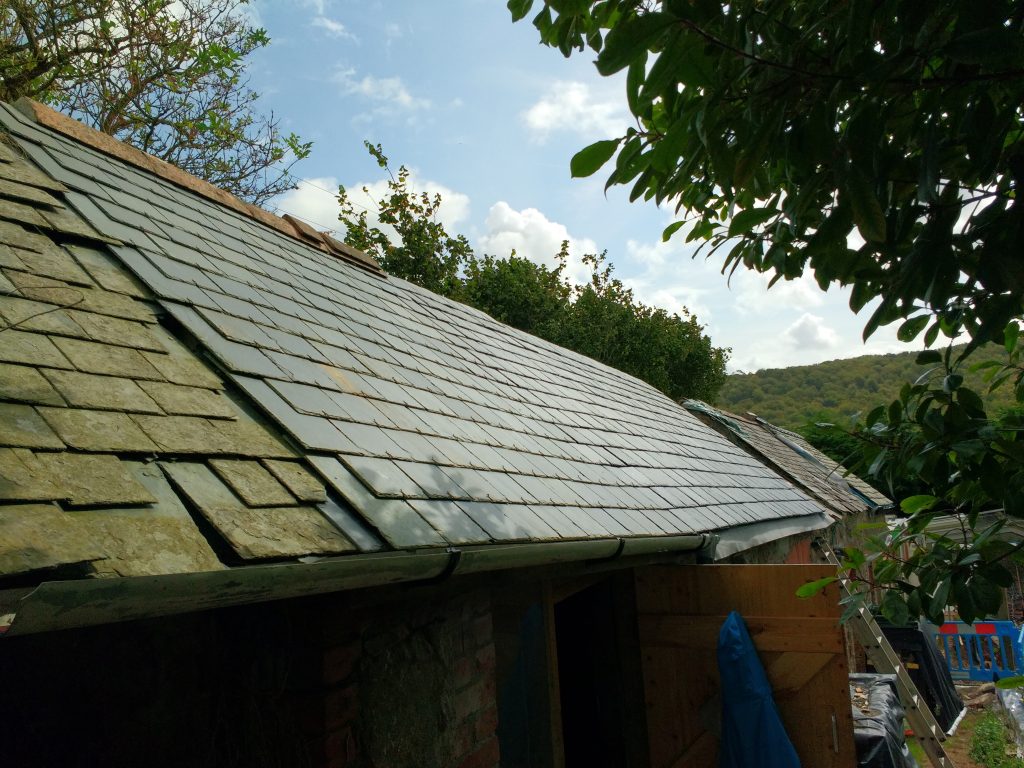
Back section being slated.
Darker inside now the slates are going on.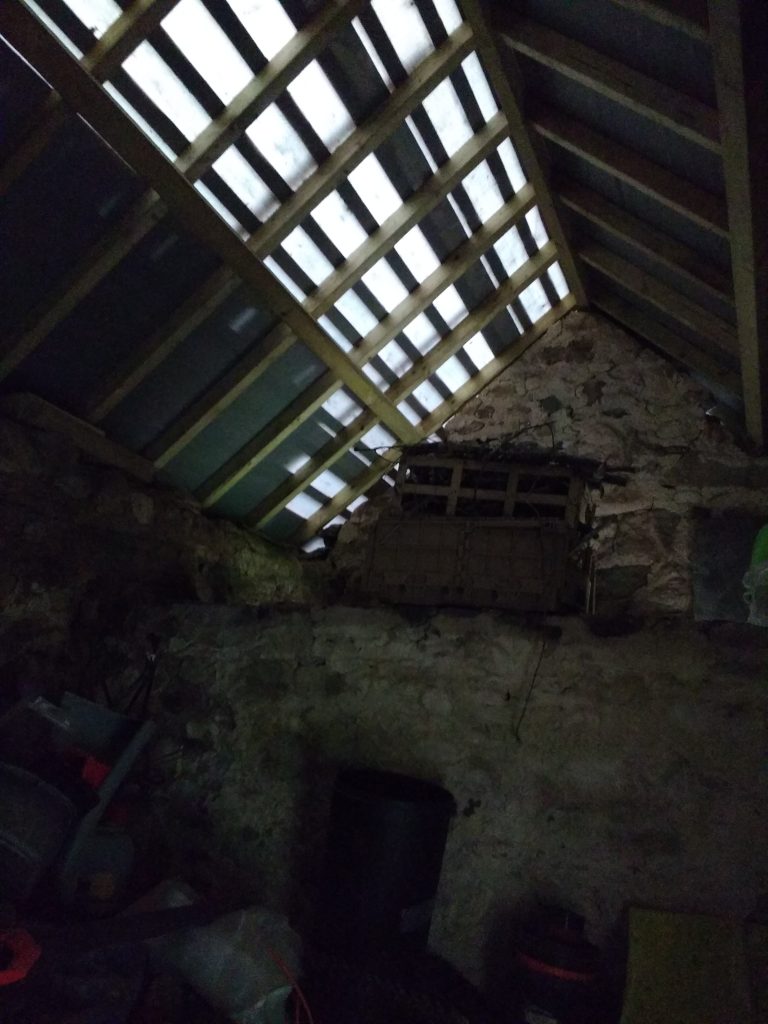
Adding more slates to the back.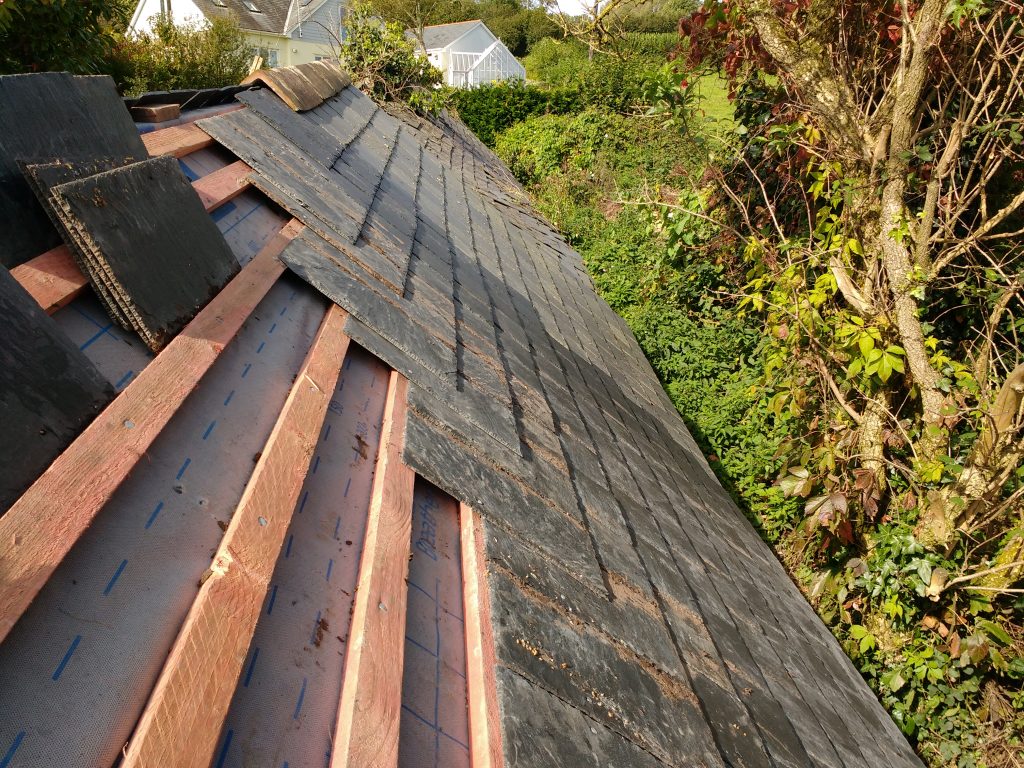
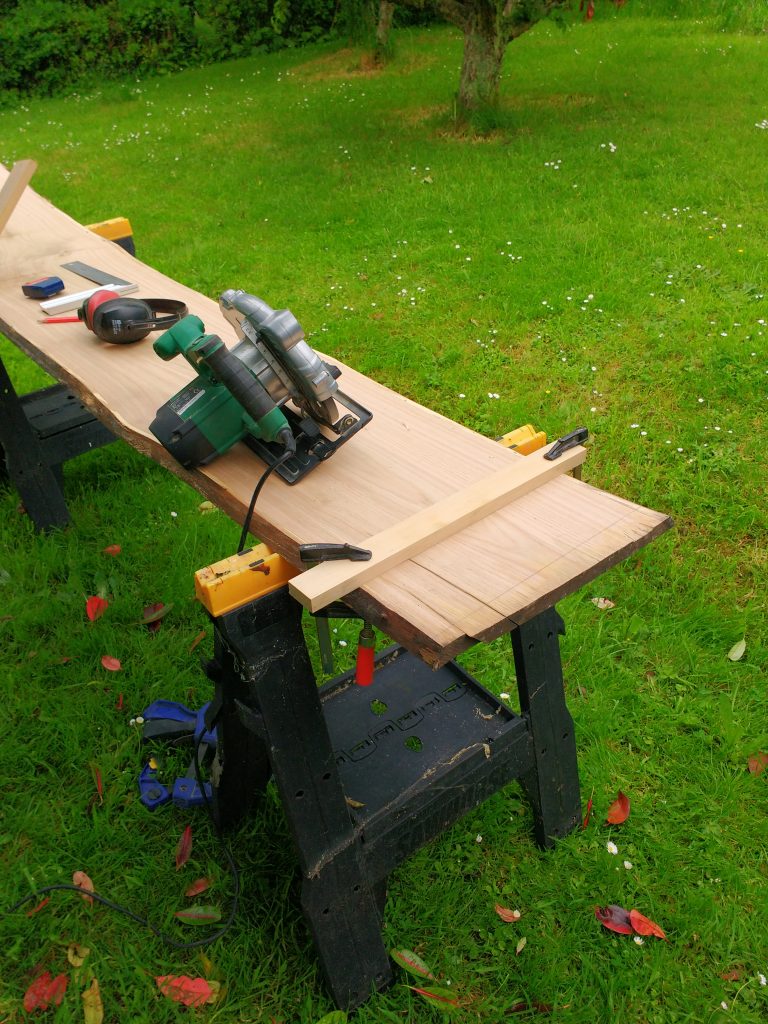
I ordered some plastic online to be cut to the dimensions of the slates. I needed to add a bevel to the edges so that water would run off each plastic slate just like it does for a real slate. I quickly set up this set of blocks so I could put multiple sheets down at once and bevel all their edges in one pass with my router. I needed to use the edge of my workbench as a guide as the plastic wasn’t thick enough to receive the router bit’s bearing.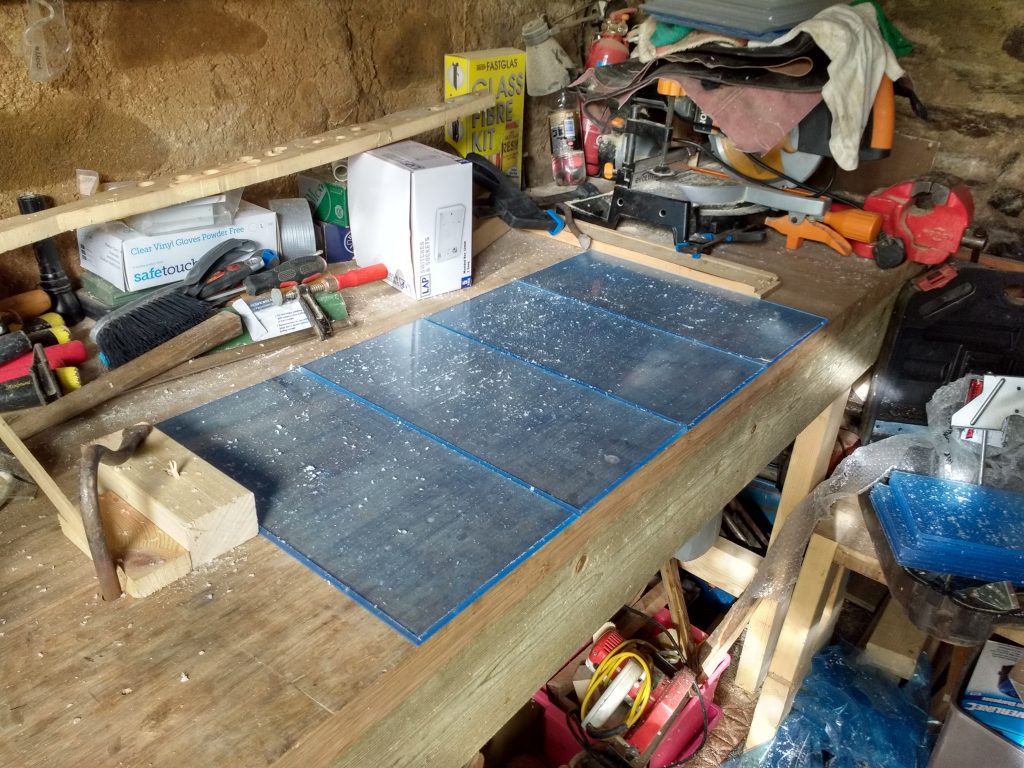
Installing the plastic “slates” was straightforward. I’d drilled holes to match those in the real slates, so they were just like the others. I did three rows of plastic which with hindsight wasn’t the best idea. It would have let in more light if I had done a narrower but taller section. However, I had already slates the rows up to that point and didn’t fancy undoing my work!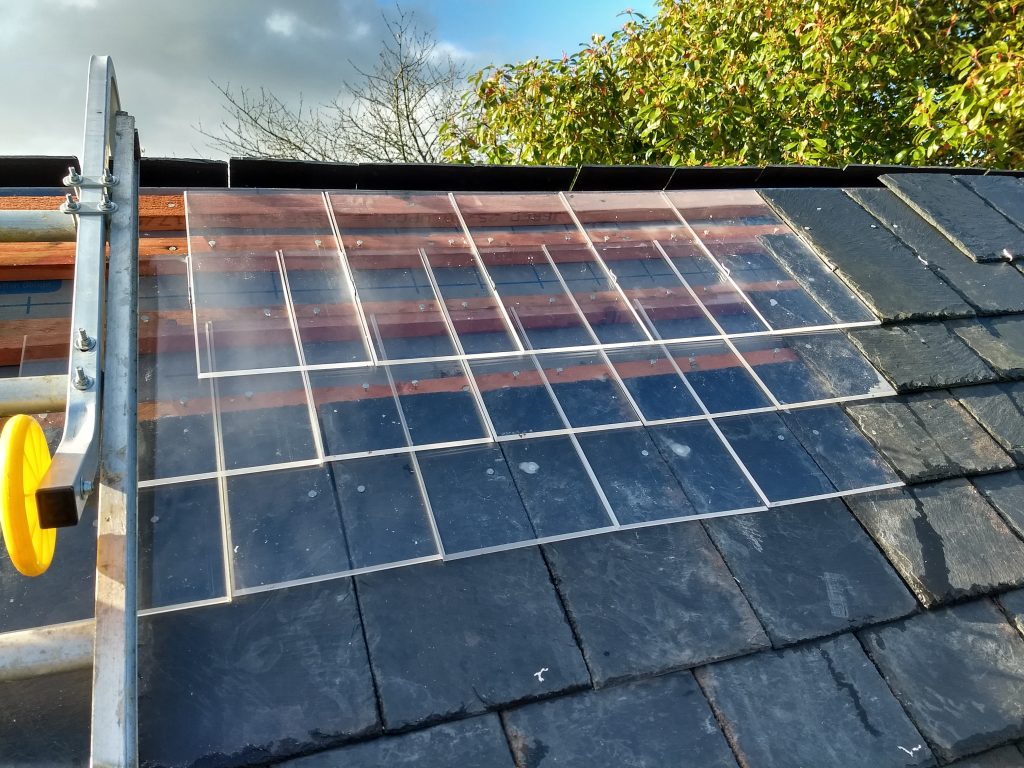
Plastic slates installed.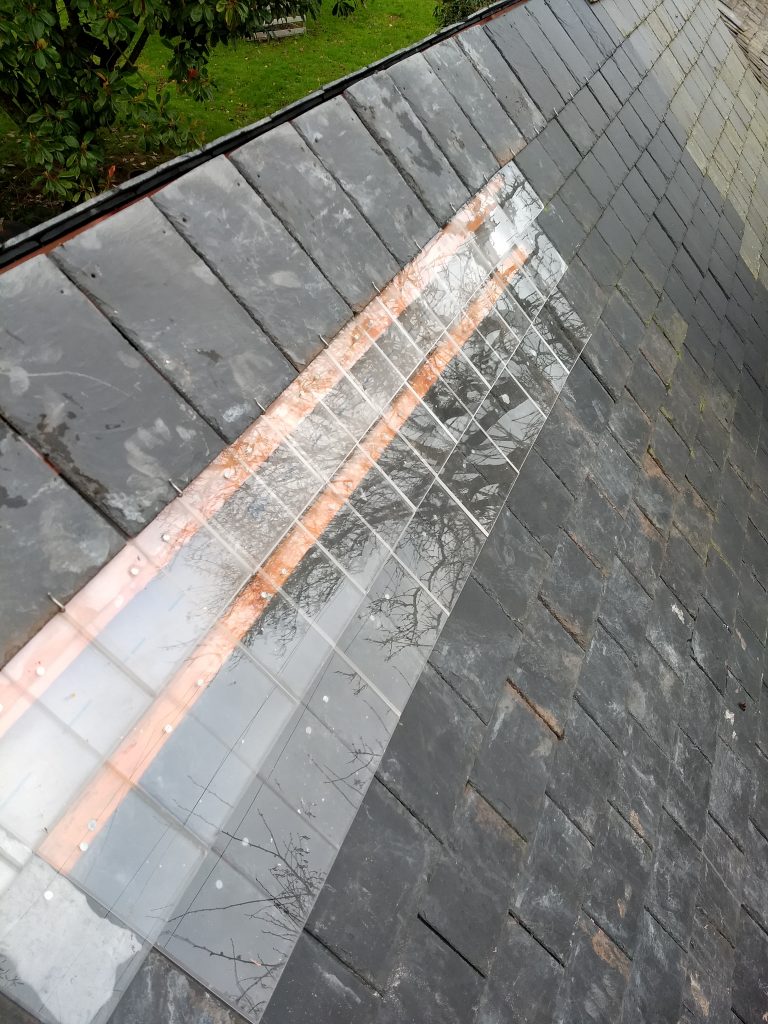
The plastic slates look pretty good from ground level. I’ve also added the ridge tiles here to complete the roof.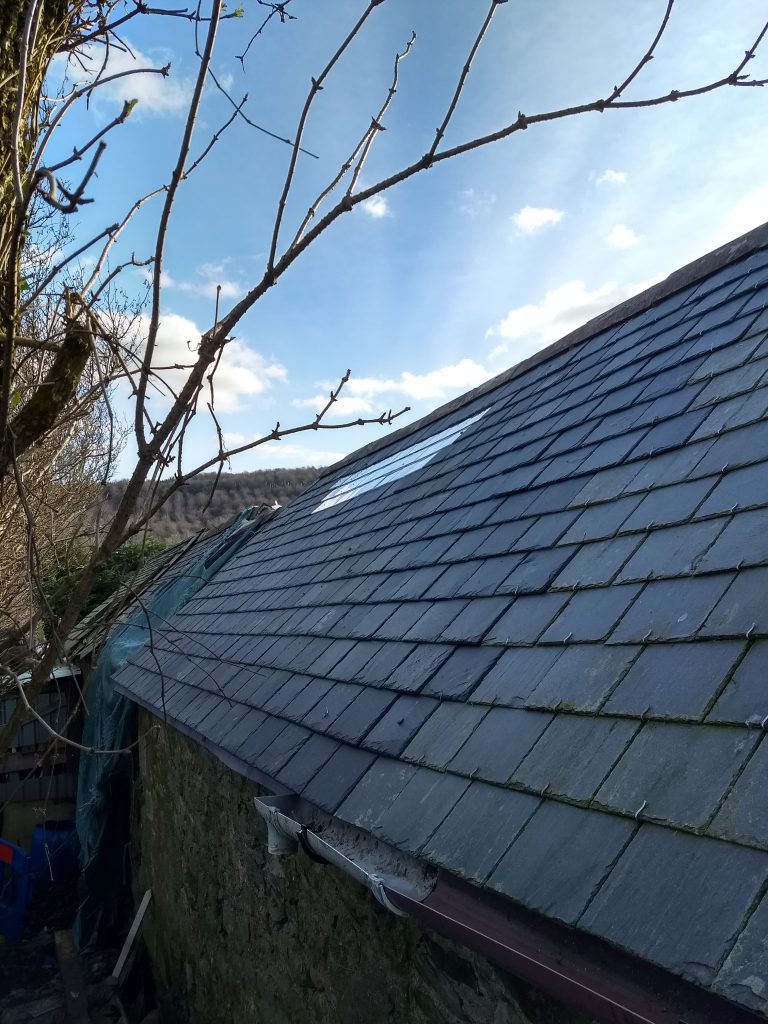
Whilst I was at it, I replaced the doors of the two lower sheds to match the top one I did a couple of years ago (nearest to me).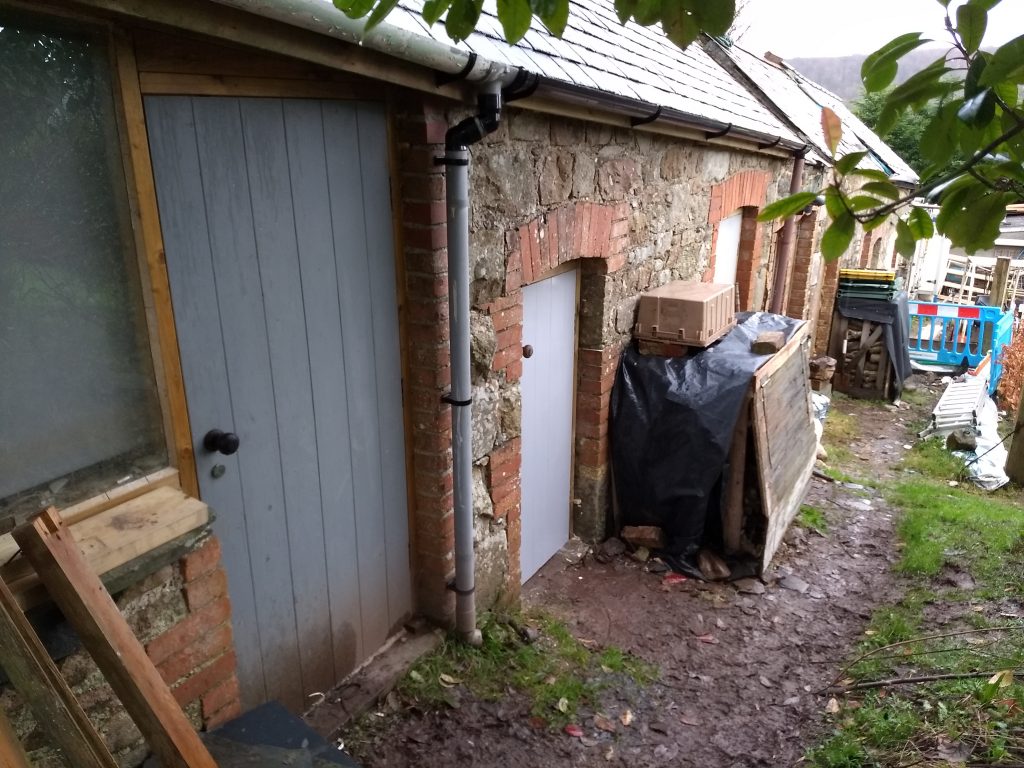
The new doorway no longer has an impromptu cat flap in it!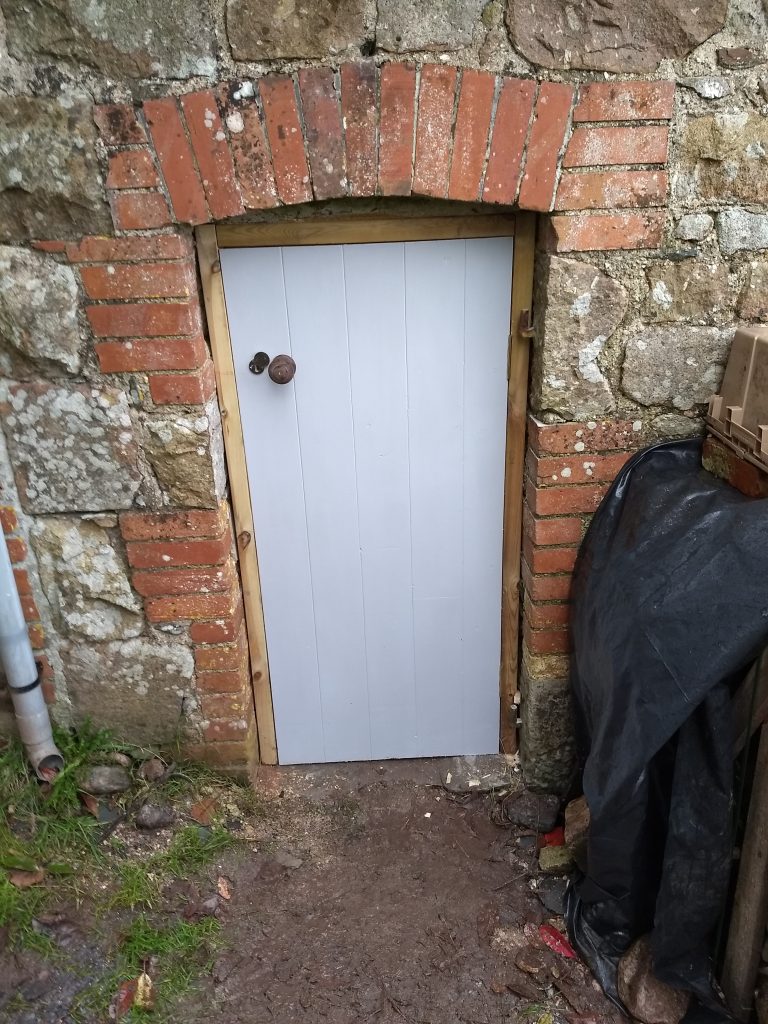
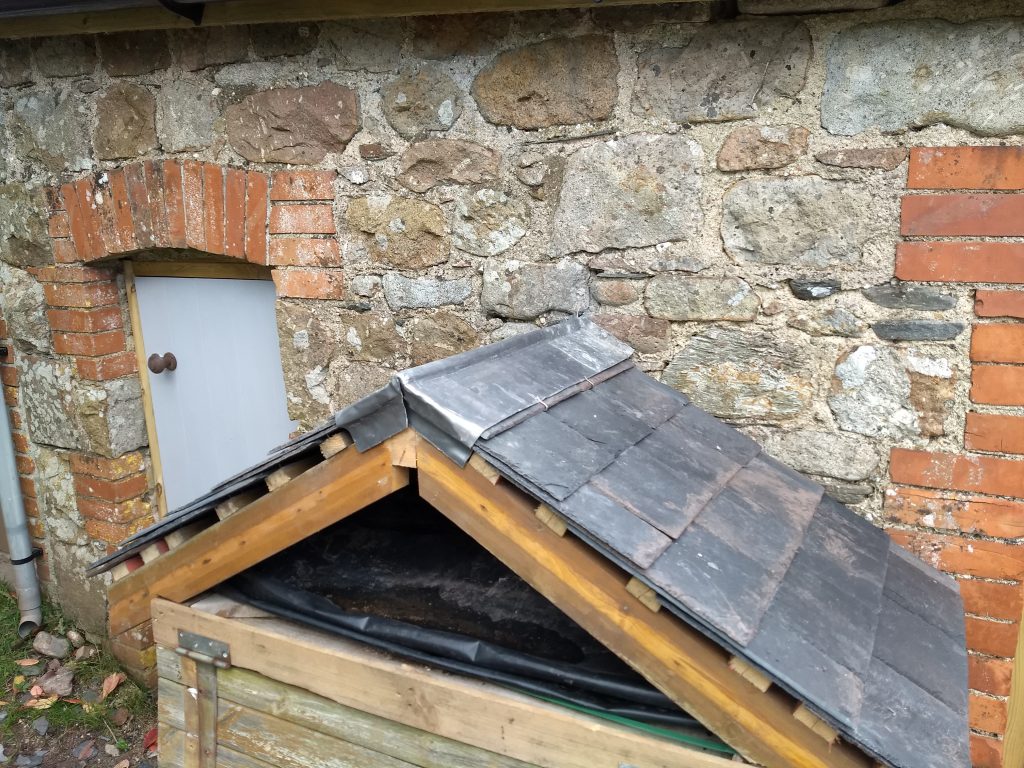
I added a roof to the firewood shed with some of the less consistent slates. The wood for this little roof is the door frames from the shed doors I replaced.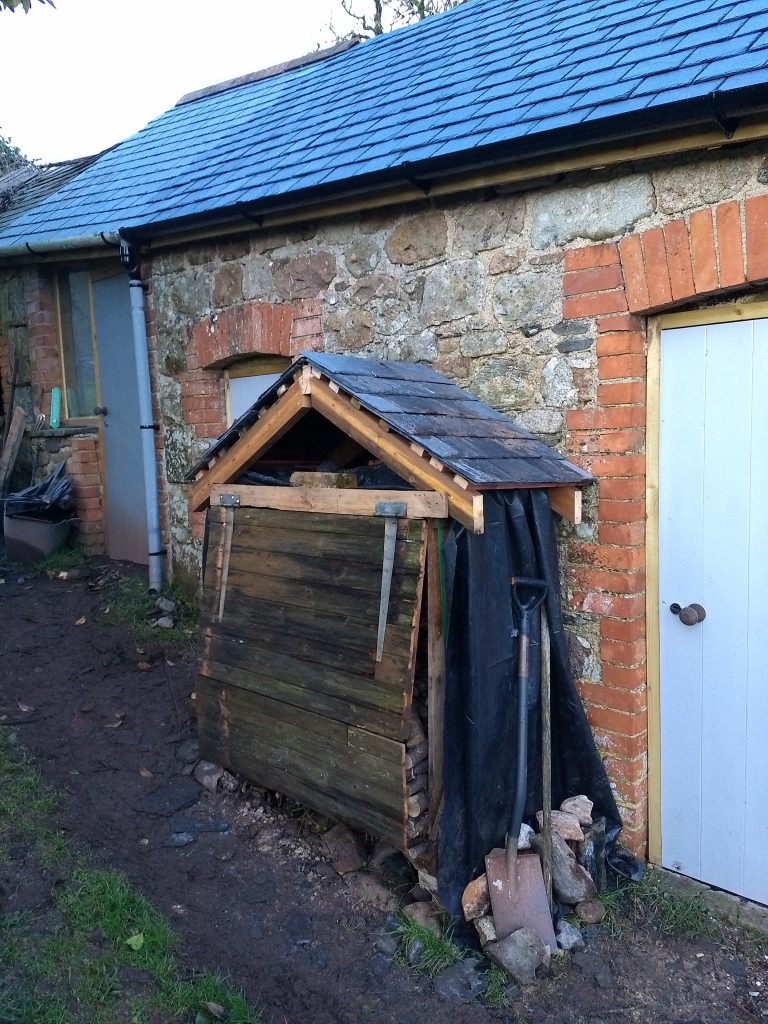
I happened to have a roughly 1 metre long piece of lead flashing which I fashioned over the firewood shed roof ridge.